I suppose I can update this seeing as we have progressed 😀
So it was with some dismay that I noted that the last update here was 2020, and to be fair.. yes. We were largely inactive on this for the better part of 2 to 3 years. That said... last year we picked this up again and basically have a functional amp, and it is indeed a firebreather amp as envisaged. Here is how we went along picking up from the hardware as posted above.
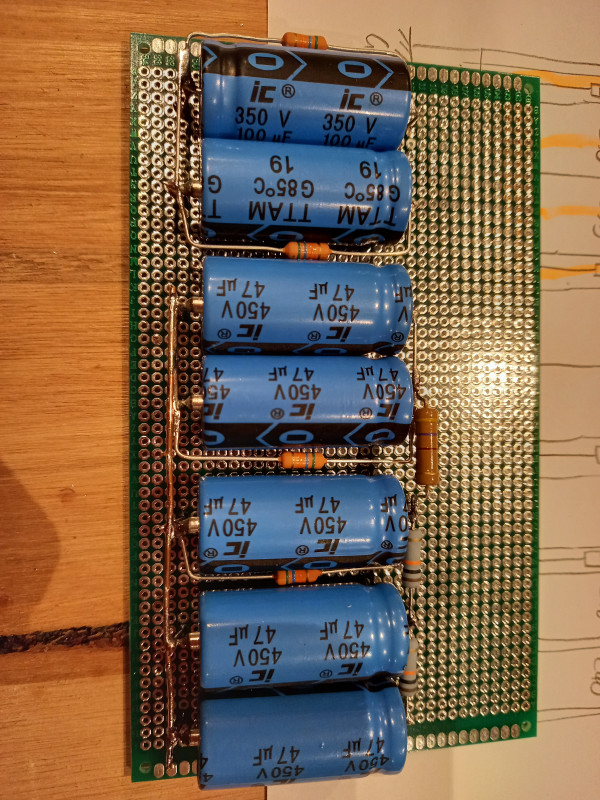
So first up was wiring up the power supply. We ummed and ahhhed about whether to go with a dogbox, or simply to mount it in the chassis. We eventually opted for the latter. The caps were mounted on a small PCB and eventually fitted in the chassis using the Transformer bolts as risers on the inside of the chassis
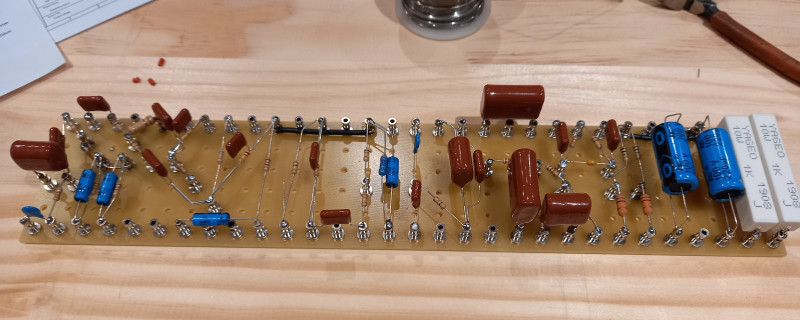
Once that was done, we installed the turrets on the board and got to soldering in the caps and resistors on the turret board for the preamp
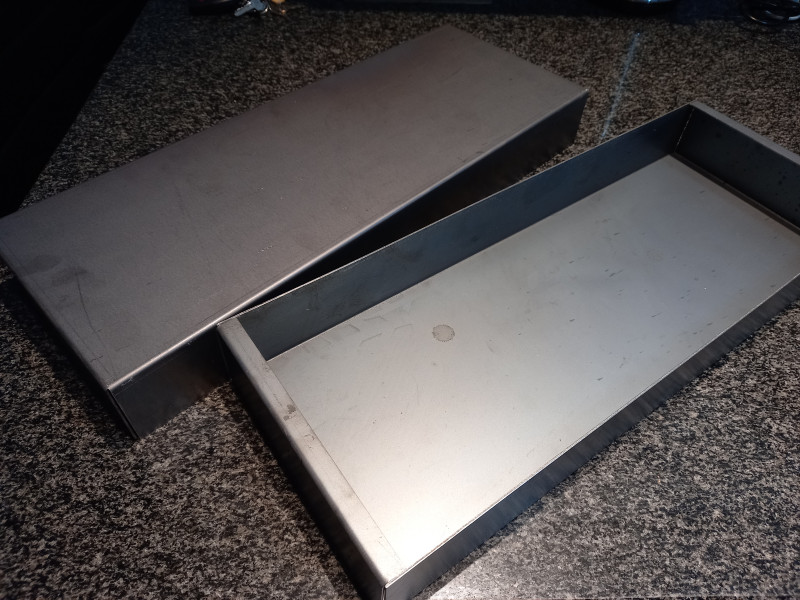
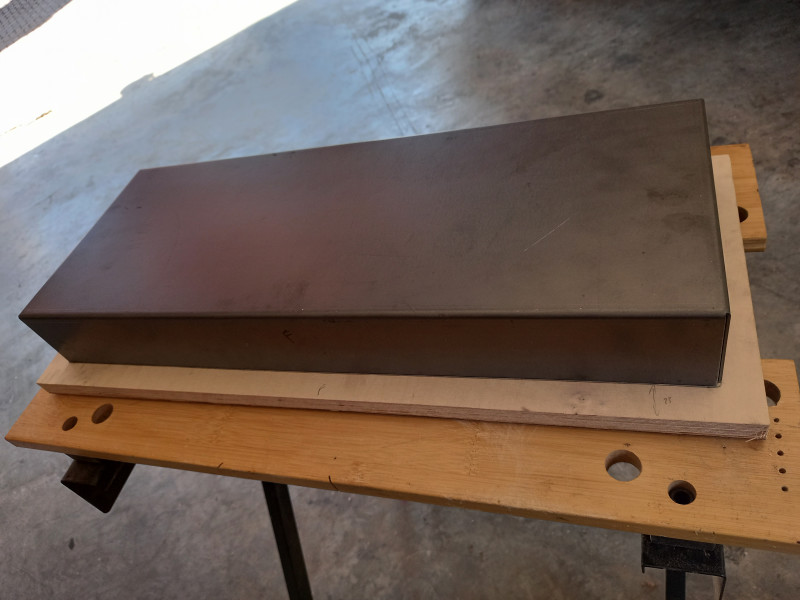
In parallel to this, we realised we best get going with the chassis, so we drew up some images in a freeware CAD software and got some chassis cut and bent. due to cost, we went with 1mm steel (this was tough on our drill bits in the end, but alls well that ends well)
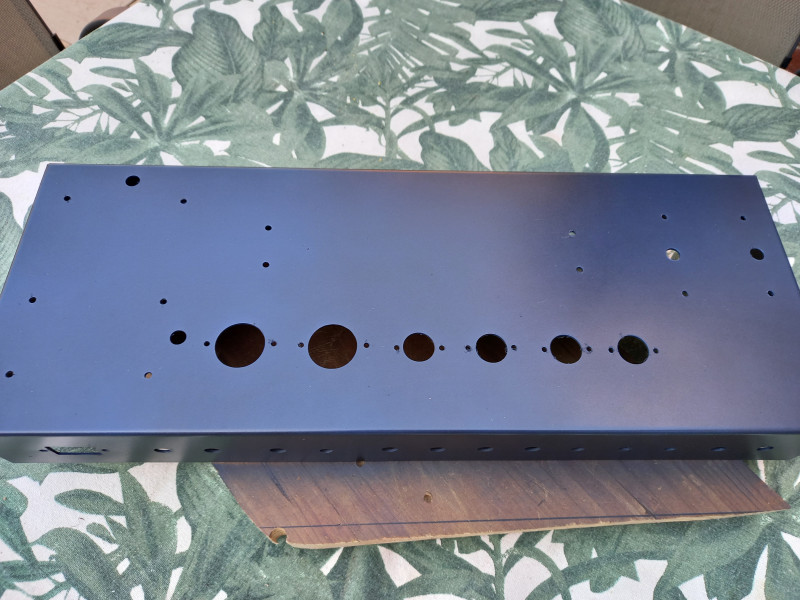
Then using a layout diagram that Yeti worked on, we cut and drilled holes... we eventually finished the chasses in a blue/black mix that Yeti came up with. Looks pretty darn smart we think..
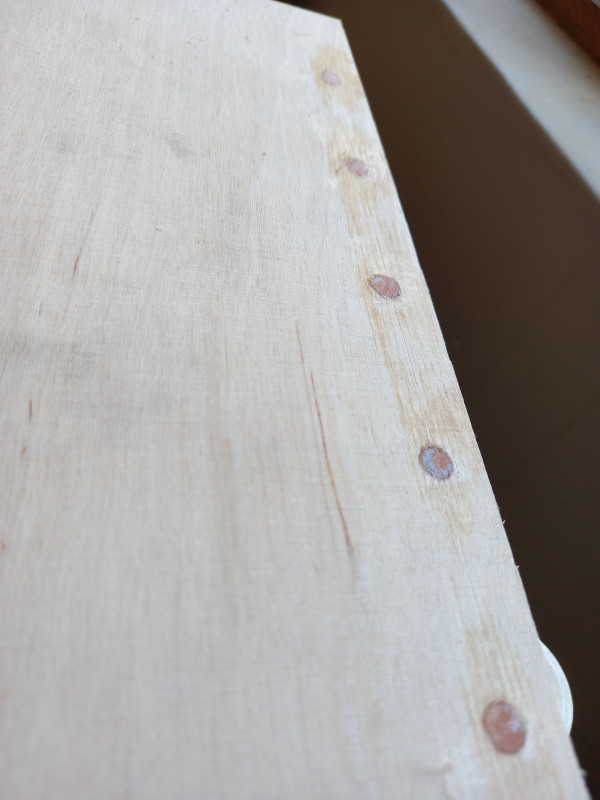
In the meantime and in parallel to wiring in the wires, we also did some work on building the head case from marine birch ply 18mm. We went with standard butt joints but reinforced these with dowels. Came out quite solid and square.
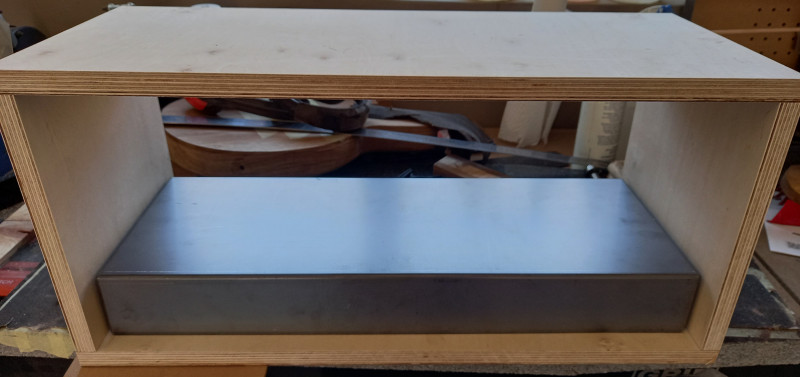
The face plates we also drew up in a CAD software, and got those laser printed, and we opted for a red tolex which turned out quite nice.
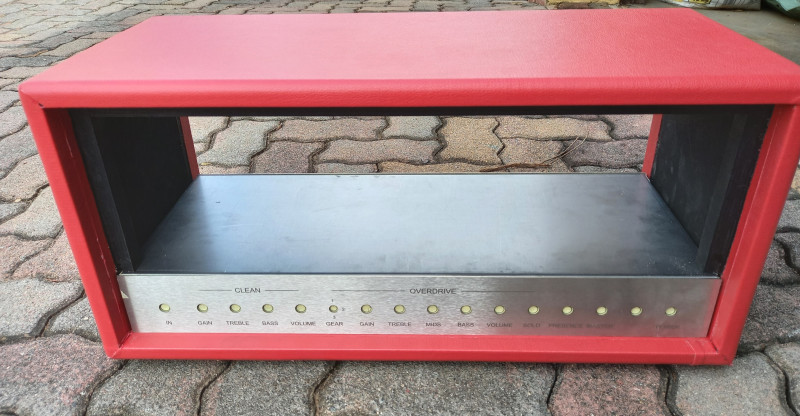
With a chassis and a case sorted, we could focus on finishing up the wiring, mounting the hardware to the chassis, and beginning with the installation of the transformers and power and preamp bits
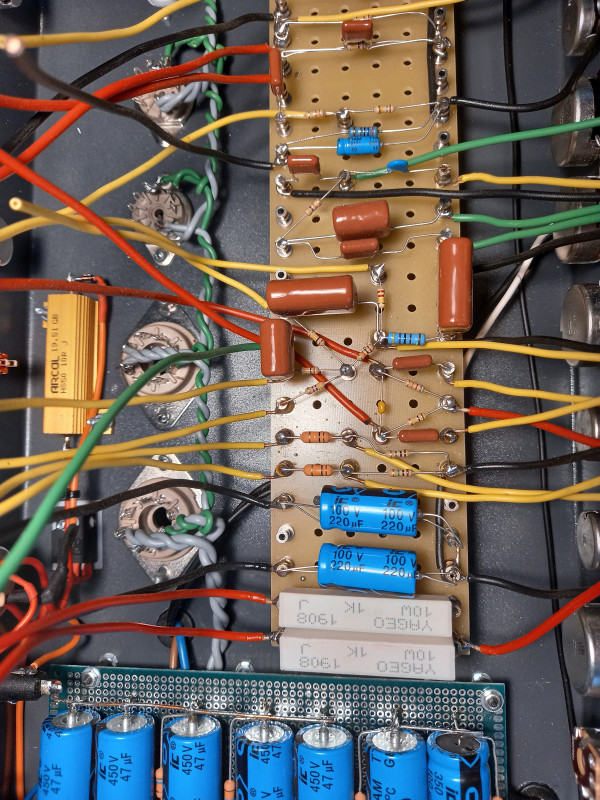
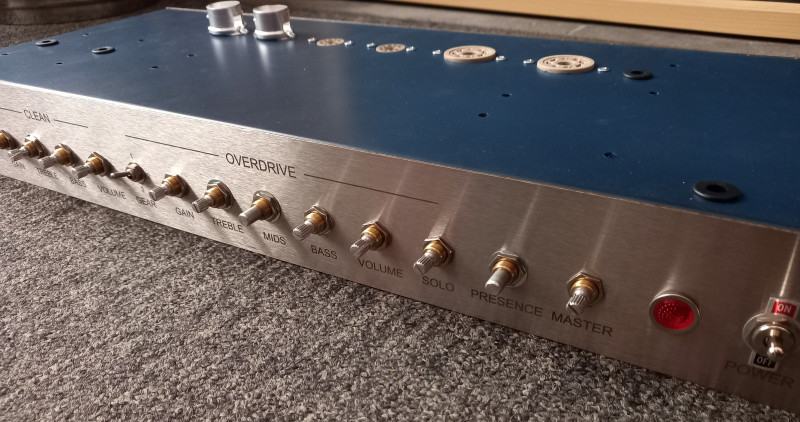
After checking and rechecking, we fired it up for the first time. Happily nothing popped. I did fry the two coupling resistors on the bias though.. so we upped the spec on those to 3w (from 0.5W).
I would love to say it all worked perfectly out of the gate, but it didn't. The amp made a sound, just not a very pleasant sound, and so we embarked on the painful journey of fault finding/ tweaking. After a few days of some frustration, we did a deep dive into the circuit diagrams, and lo and behold, we found a few funnies. The bigger issues were a missing coupling cap in the preamp, some misaligned resisted values and a misrouted earth. Once these items were sorted out, we got that lush fire breathing overdrive we were expecting.. Pretty darn happy happy with the outcome.
Are we finished yet? not quite. The amp is largely done and works well, we now need to finish making and wiring in the effects loop, and we also need to make the footswitch to drive this thing. This we will hopefully bed down in the next couple of weeks.