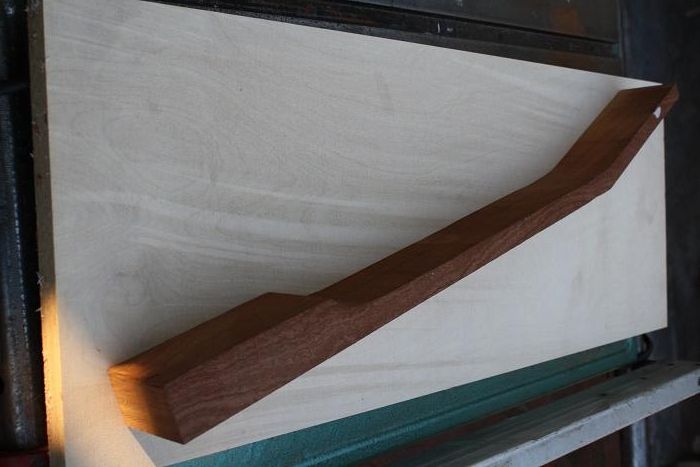
OK - here's the first few steps. I bought a bandsaw & a few Stew Mac bits & pieces in December. I've never used a bandsaw before. It is a really great tool to have - & vital for cutting out stuff. I climbed in & rough cut the necks. I've let them stand for 5 weeks for the wood to settle. The Gibson necks apparently were not cut with the grain running completely parallel to the neck. The grain runs slightly down from fingerboard to the back of the neck, moving from the body to the headstock. I'm not 100% sure on the reason but this would definitely make for a stronger neck. It also means that using a draw knife to shape the neck would avoid any digging into the grain.
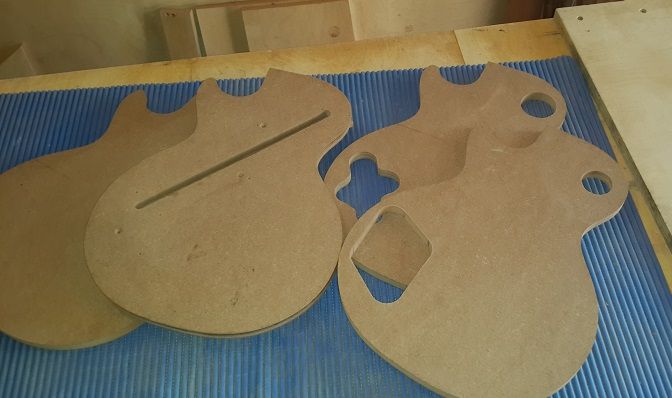
Body templates have also been cut. I glued my drawings onto the particle board, cut with a bandsaw & drilled open the cavities. I did the detail with a spindle sander.
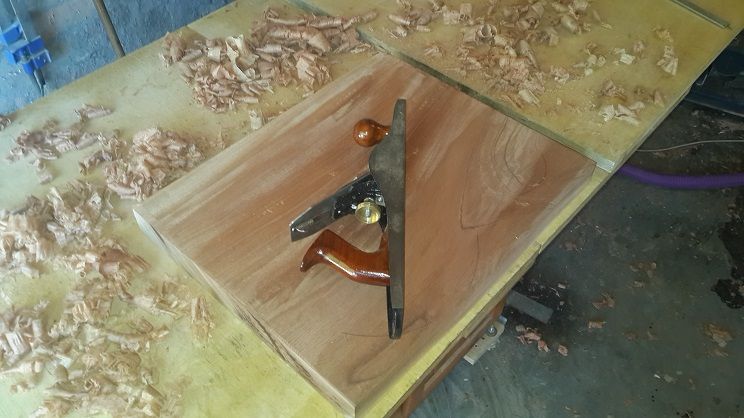
Here's the progress on the body. Hand plane the slabs. I've never used a hand plane, but when sharp, its great fun. Mahogany if difficult. I found that some parts had to planed left to right, & some right to left to avoid tear-out/ burr. A bit of a learning curve. It seems the grains wind a bit erratically.
I've used these with robosander and flush cut router, like this. Rough cutout:
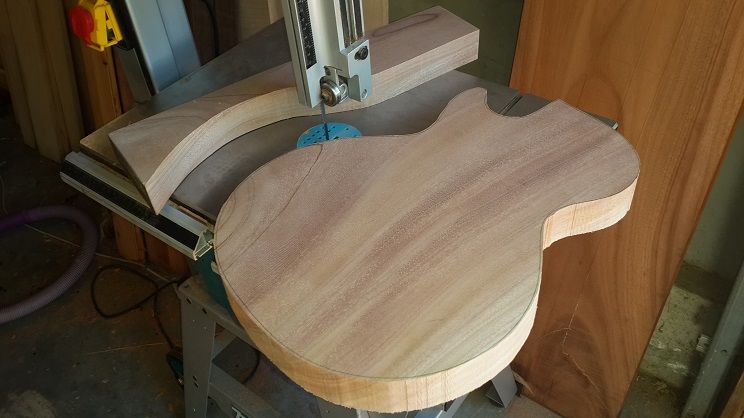
Robosanded against the template...
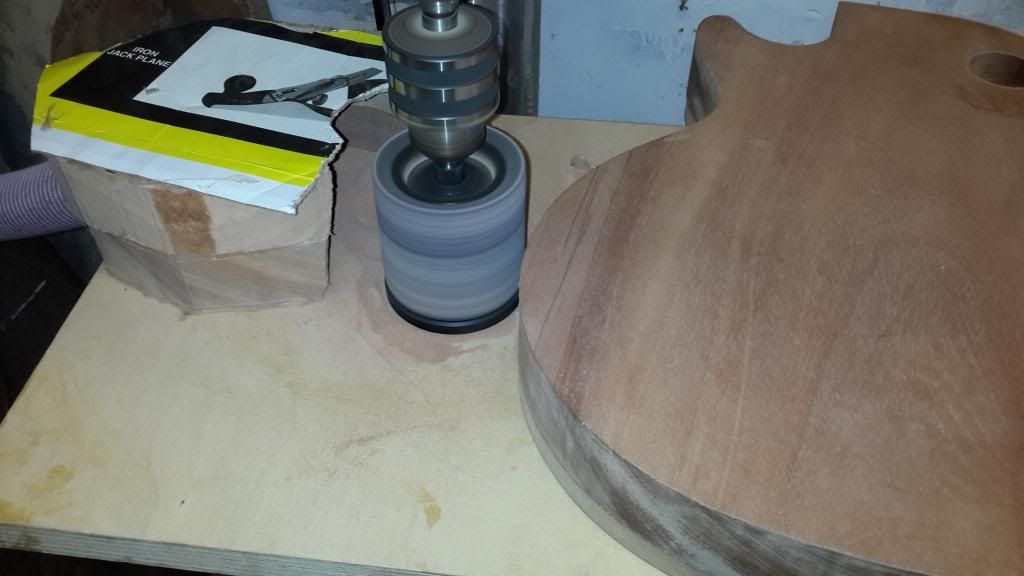
I forgot to take a pic of the routing of the outline. Robosanding leaves a small lip that can be flush trimmed with a table router. I was bit nervous & forgot the pic. It was easy though, but can be very dangerous.
Next, I routed the back cavities. I used double-sided tape & clamps because there's no place to hide screw holes on the back:
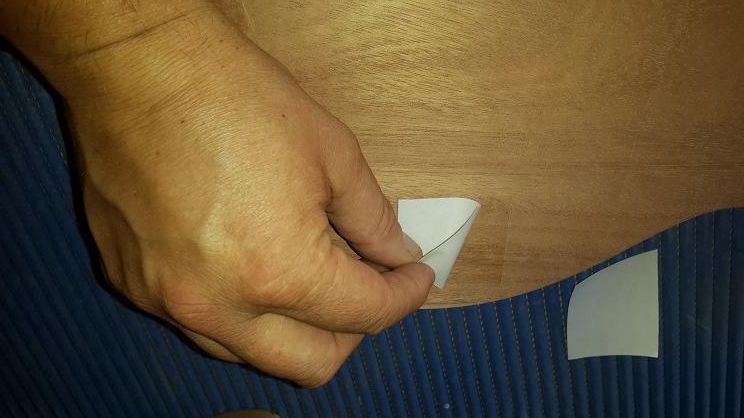
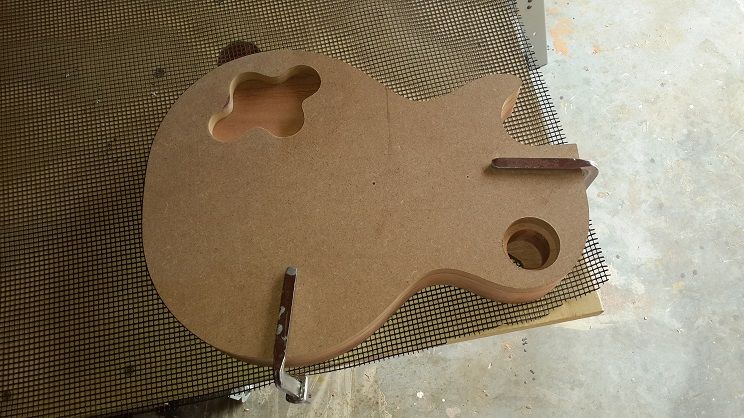
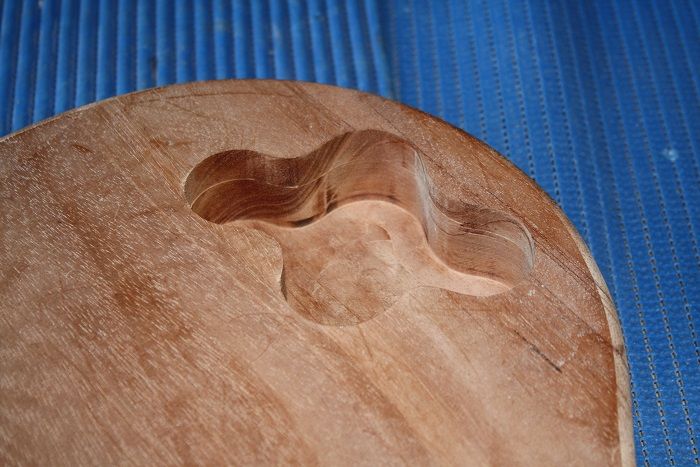
The control pots cavity will get second route after the maple top is fitted and shaped. More about that later, but for me it is a definitive feature of the bursts.
I need a new router bit to do the rebates on the back for the cover plates. I can't find the right size locally, so that will have to wait.
Next, the templates for the neck pocket & pickups. I used some BB ply tenons with CA glue & then screws to mark out the holes. I got this part accurate to a few hundreds on a mm, so am very happy with the accuracy here. Its my own method & works very well:
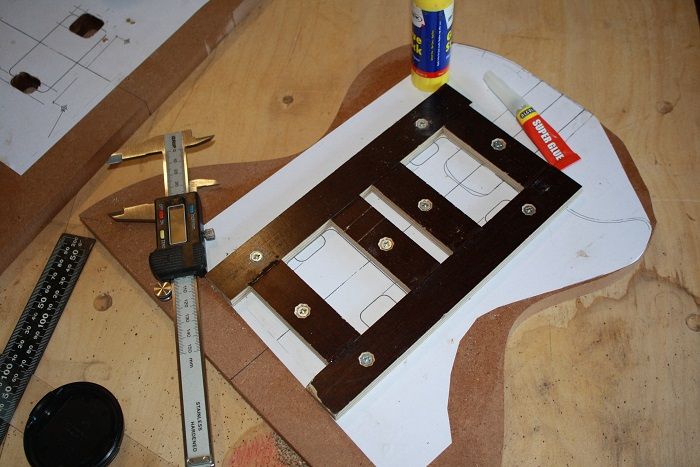
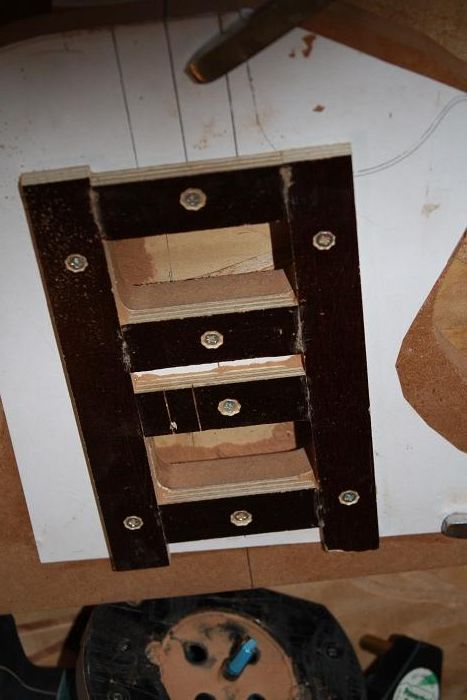
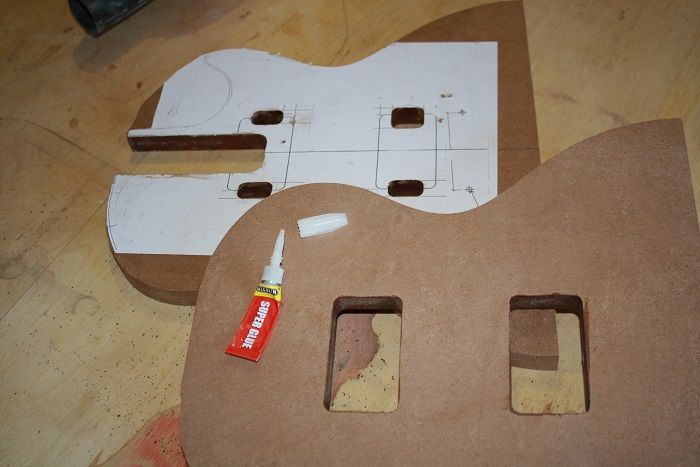
I've also found that if you wipe a bit of CA glue into the sides, it hardens & preserves them. The edges are straight, the ripple is just from the CA glue.