What up guys,
Took today as a rest day in anticipation for writing Board 1.
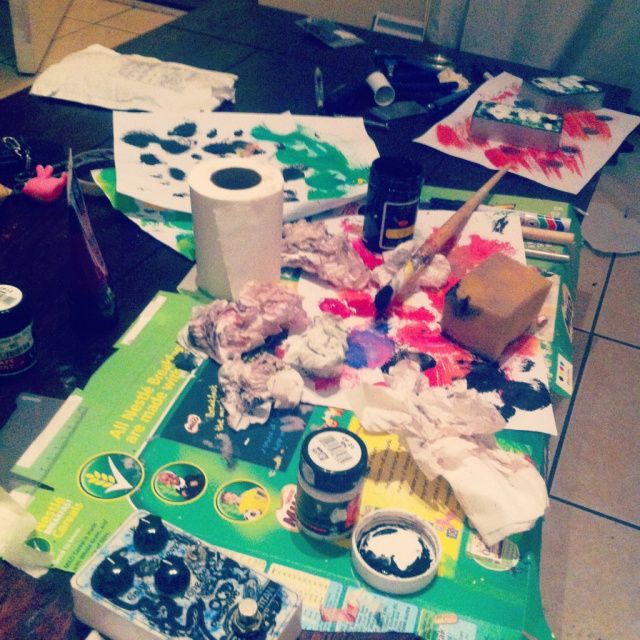
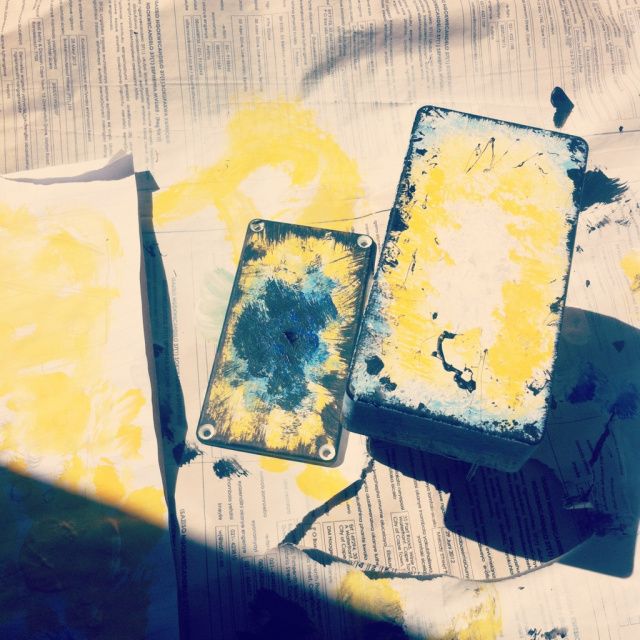
So spent the afternoon being colourful ?
I tried to do things I hadn’t done before – ie multiple colors, using black enclosures, leaving some edges bare.
Definitely got me out of my comfort zone. Was very tempting to go back to a white enclosure with the usual dabs of pink/blue/purple.
My Special Super Secret Technique
The truth is there is none! Man I hate it when people say that ? But it's true.
Look at the picture, does that look like there’s a perfect technique every time? It’s all trial and error, get out paint brush and just start playing around. You’ll be amazed at how simple materials can produced great results. That’s not to say there isn’t a learning curve. But that’s the great thing about water based paints – rub it off with a sponge and water and start again!
 So what is the basic technique?
Here are my personal preferences. No special equipment needed.
1. Primer
For paint to stick to the unprinted aluminium it needs a few base coats of primer. I find if you use enough coats of white primer, that’s the white base coat sorted. Just take care to take it slow and let it dry on a perfectly horizontal surface.
2. Add some colour
This is where I add some colour with acrylics. I started off with only 2 colors – blue and pink.But the sky is the limit for your choice but here are my personal guidelines I usually stick to:
A): Use colour to support the decal, not the other way around.
I always design the decal first and paint second. That way you know for example, what areas to keep white for text, which areas will be covered by knobs.
B? Keep it simple!
1 or 2 colors max. Plan the colors to ensure they work together. Ie careful with conflicting colours eg: orange and green.
C? Patterns and textures
Using a paint brush to dab at the page in different ways produces a vast variety of interesting effects. I’ve got 1 paint brush to my name and have managed a variety of effects.
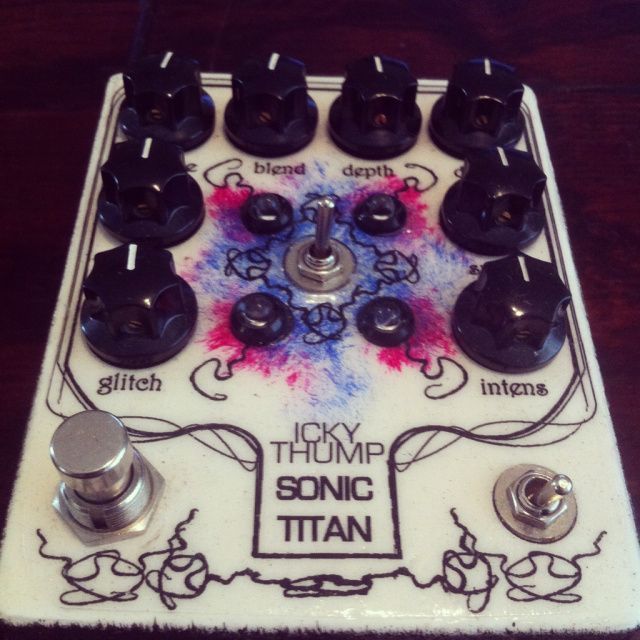
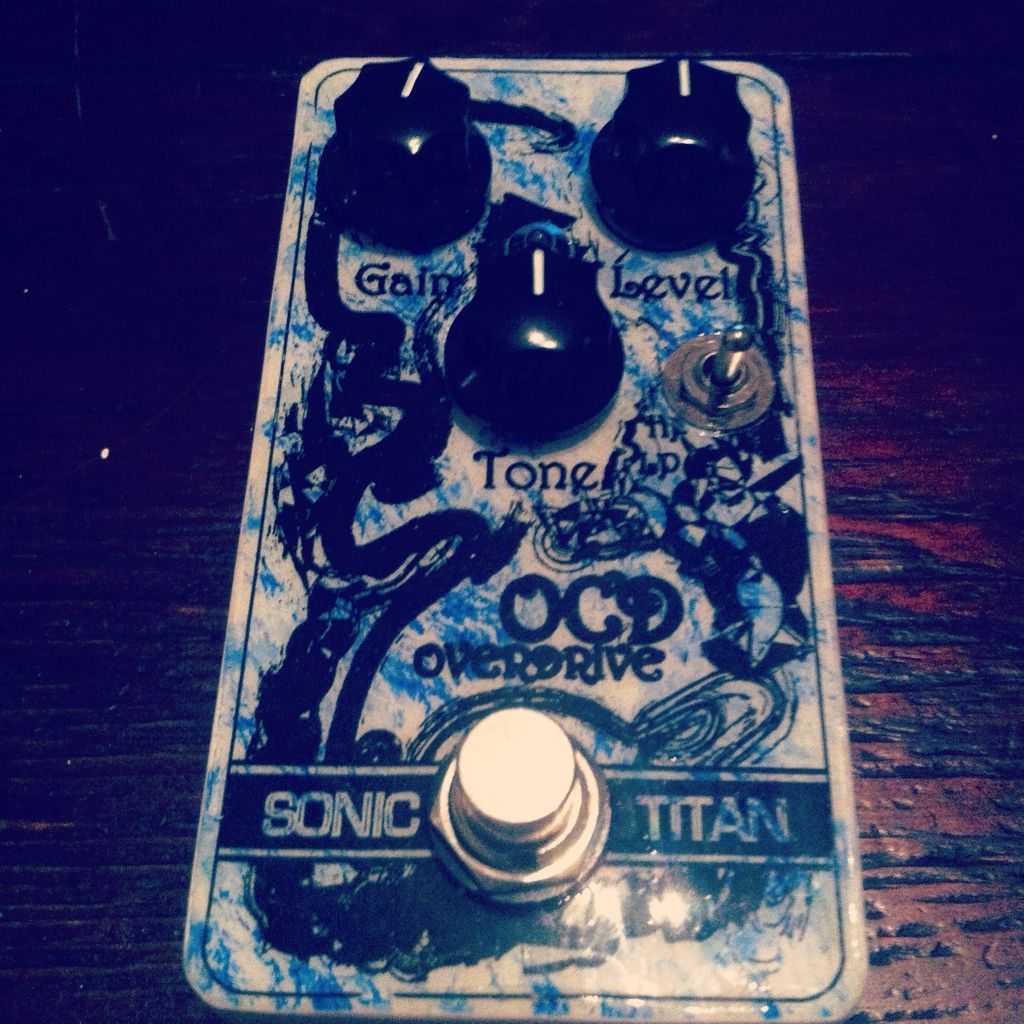
Here’s the first pedal I did properly – all I had was pink and blue paint to play with. My *usual* pink/purple/purple look.
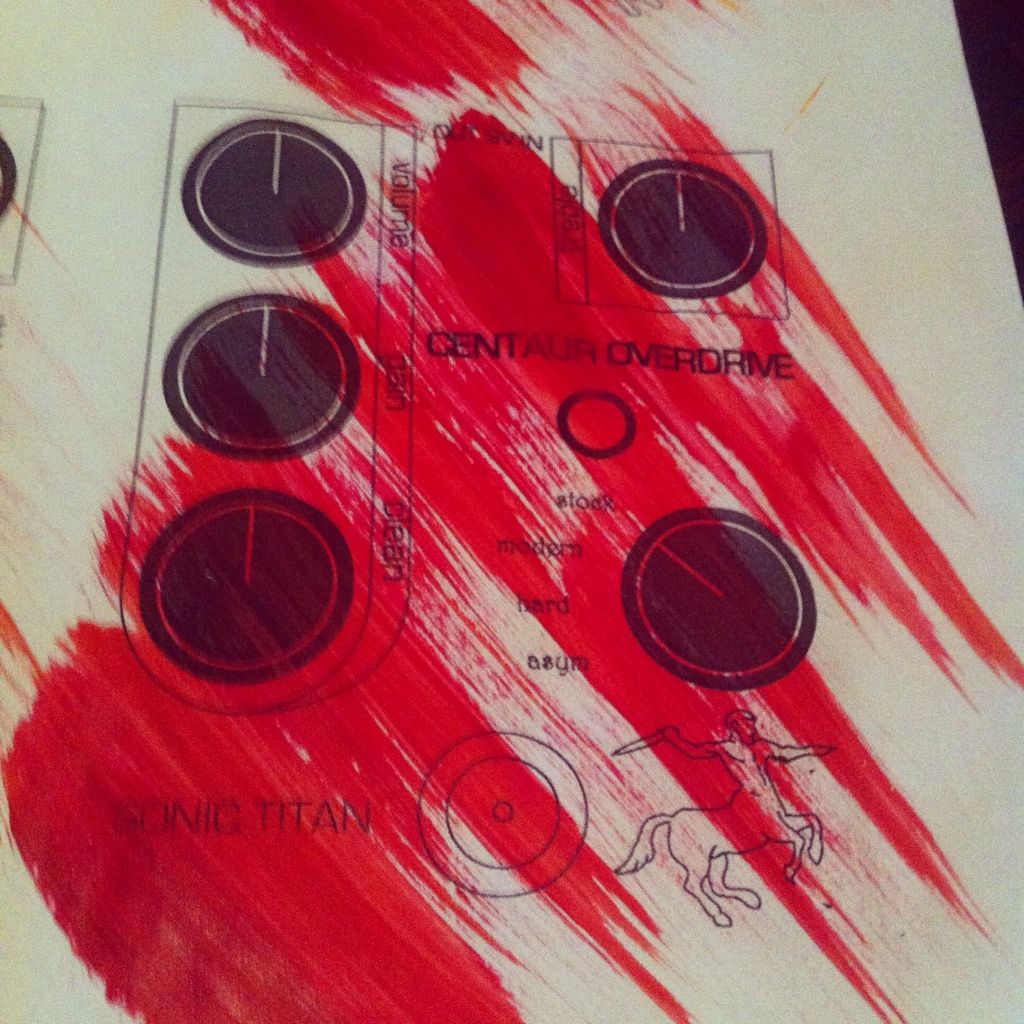
 3. Illustration and Waterslide Decal
I do all my designs in Adobe Illustrator. It's got a learning curve but at least now, if I've got a basic design on paper, it takes me about an hour to create a decal - rather than the day or two it initially took me.
If possible, try not to slap a picture off Google on the pedal. I just doodle on a piece of paper until something useable comes up. But obviously one doesn't always have the time or enthusiasm, so then ya do a Google slap - it's better than nothing! ?
Where to find Waterslide decal paper? I order mine off eBay, it's not a common item. Search "waterslide clear laser paper".
4. The Sealer/Clear Lacquer
A crucial part that you can’t rush. I apply about 4 coats of the thicker “paint on” sealer over a 24 hour period and it’ll take another day to dry. Yep, waiting isn’t fun but it’s worth the effort in my opinion.
Note: to get an even coat it’s vital to apply it in thin coats and not leave any blobs anywhere. The blobs take forever to dry and leave a VERY uneven surface.
So which specific one’s do I buy?
Answer: whatever the hardware or art store has on hand. I’ve tried about4 different kinds of primers and 3 kinds of sealer and they all give practically identical results.
However, make sure you chat to someone at the store who at least knows their rights from their lefts. It’s ridiculous how useless the guys working in the paint isle, can be.
Onto the results:

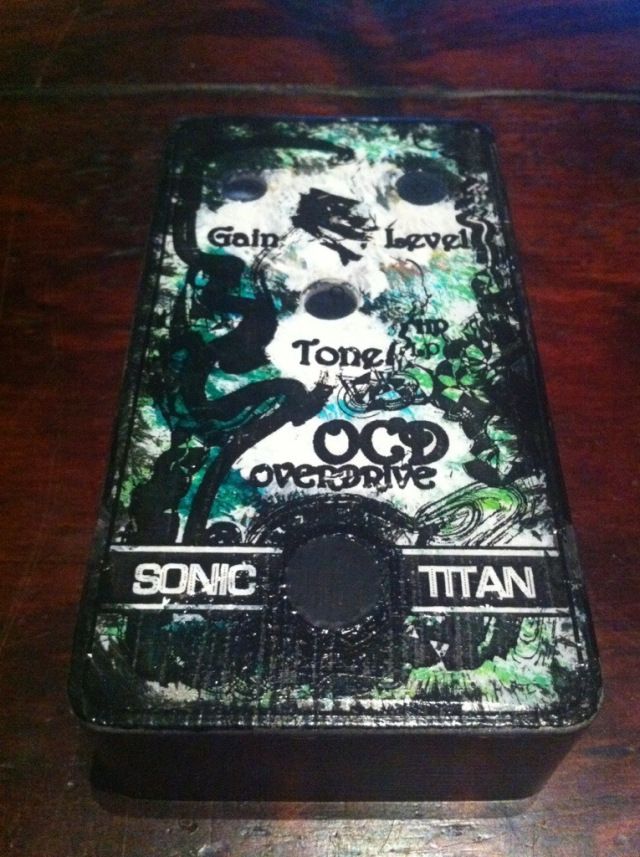
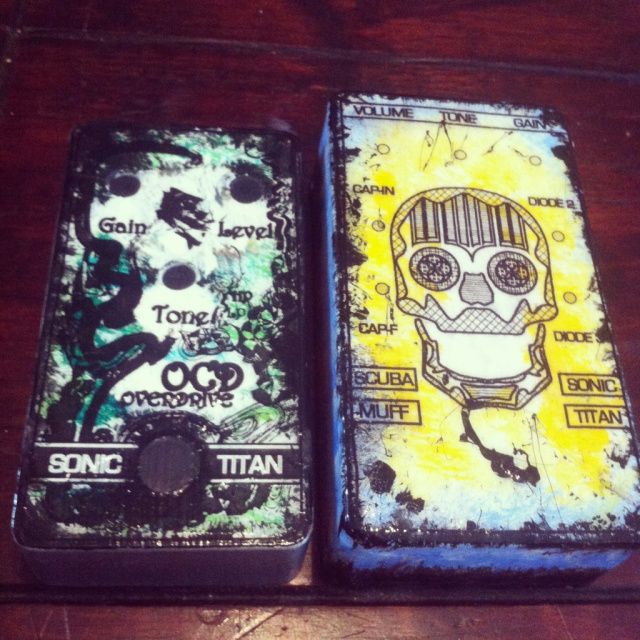 First up, another OCD overdrive:
Tried some shades of green with a dash of yellow and white.
Here’s the first one I did for interest:
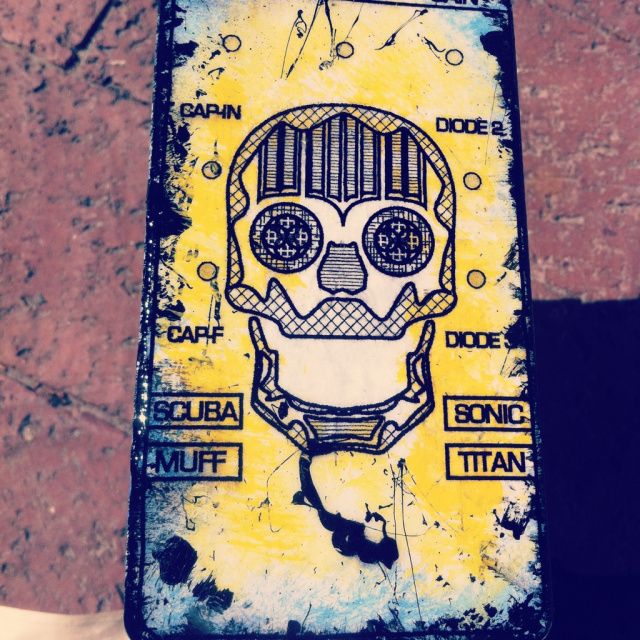
 Scuba Muff
This is definitely my favourite. So proud of this one! ?
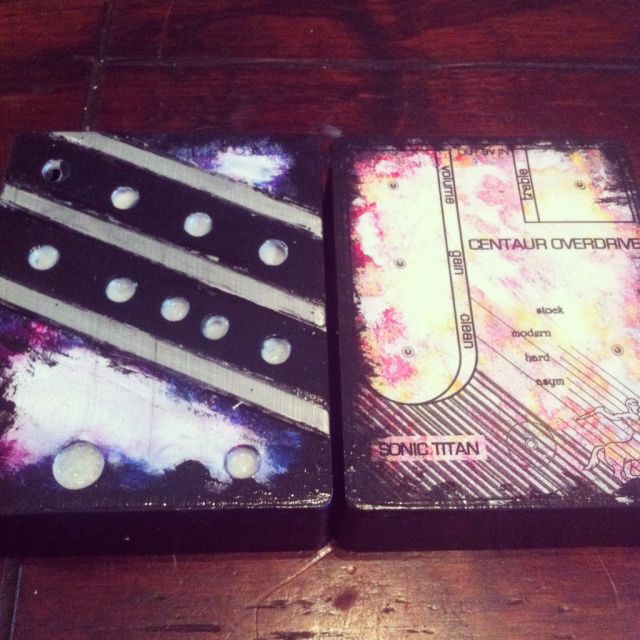
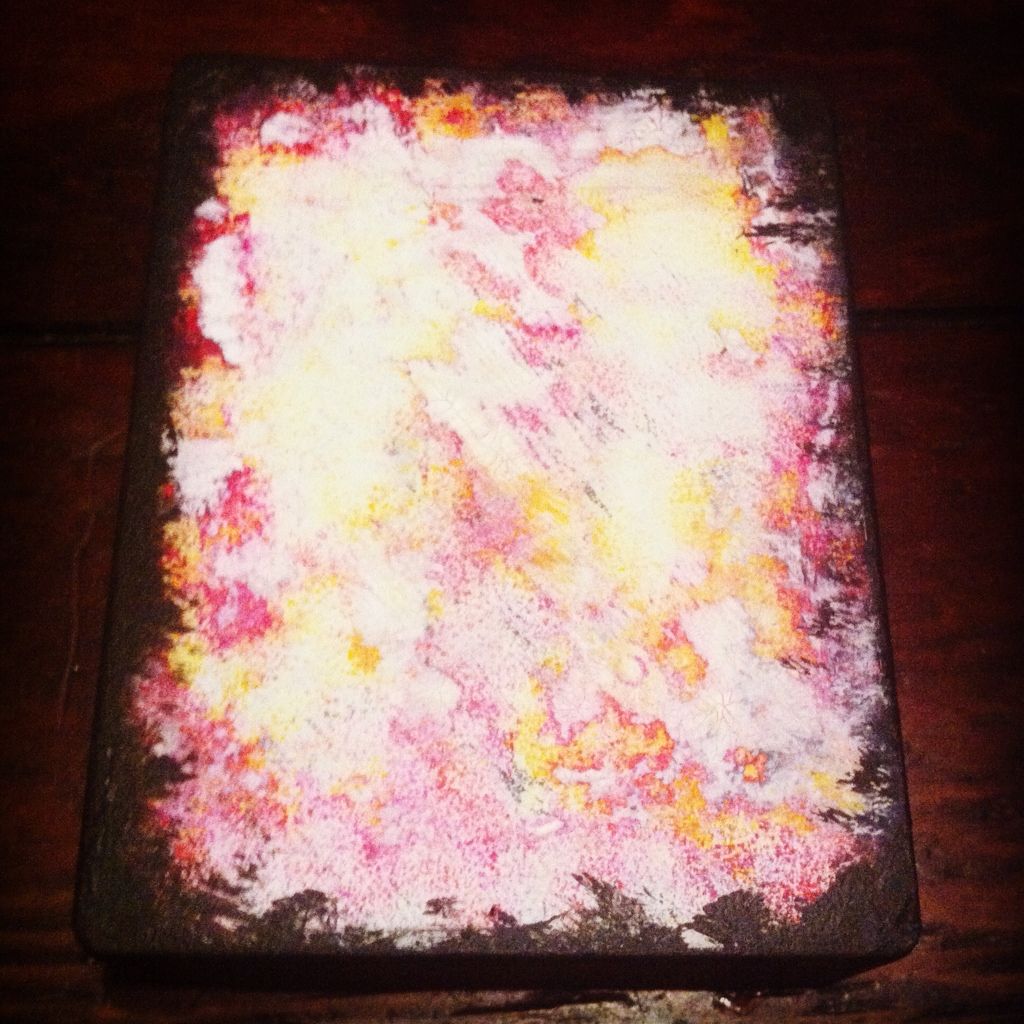
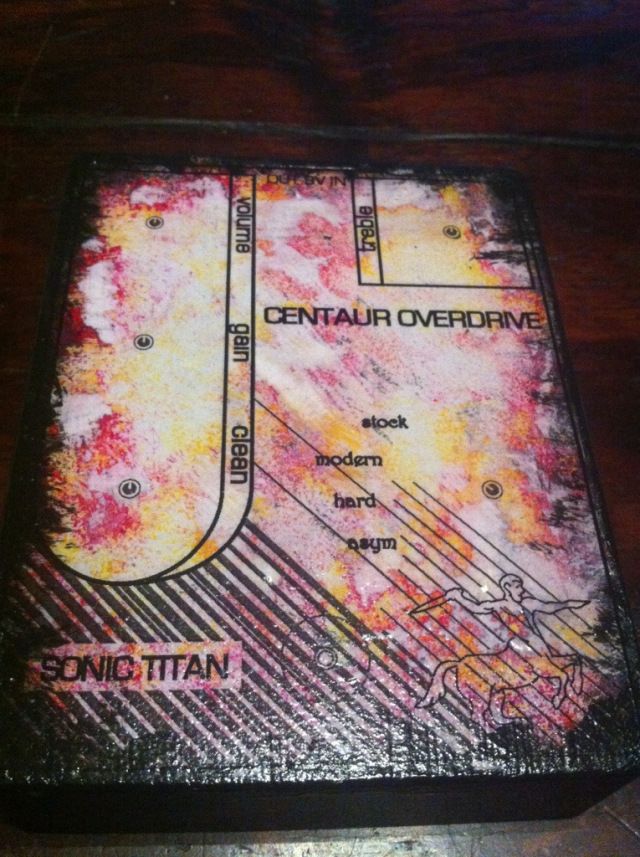
 Centaur Overdrive:
I tried for over an hour to get this thing right. I painted over about 5 attempts. Eventually after much frustration I gave up and began to rub it off with a sponge – exposing the layers underneath and producing the most glorious effect. Very happy accident!!
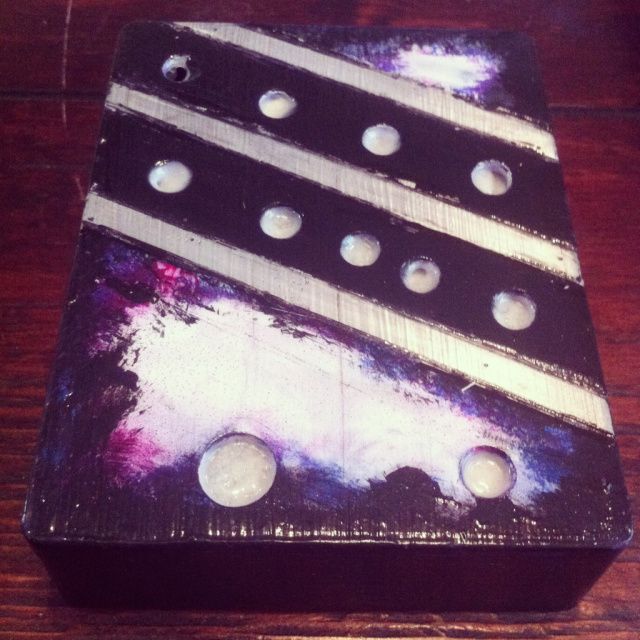
 Skeedish Muff
Following the success with the Centaur, I tried to repeat the process with the Skeedish Muff – also came out well. ?
Well that’s it, proof that with a couple of simple hardware items, anyone can create something that looks half decent ?
Matt.