(Log in to disable ads.)

Hey all,

Here it is, the project thread for my Ibanez RG570!

I picked this axe up for a very good price from a fellow GFSA member as I'd been looking for a shred machine for a while and was on a bit of a budget. It needed a lot of attention, the finish was badly chipped and dinged, the pickups had been removed and the frets were very, very worn, so I decided to turn it into my first project (bit of a risky move in retrospect; even though I paid very little for the axe, it plays like a dream with that legendary original Wizard neck!).

The plan was to give her a full refret and refinish. I went with Stew-Mac's tallest/widest fretwire for the refret and for the finish, I had the idea to get hold of a very thin maple veneer for a relatively easy yet classy-looking trans finish.

Well, I got a little more than I bargained for; the veneer I ordered from Stew-Mac turned out to in fact be more of a cap, at 7mm in thickness, so with advice from some other forum members (you know who you are, your advice has been and continues to be invaluable, THANK YOU!!), I decided that the only way yo go would be to create a "drop-top"; taking the basswood body down by about 5mm to accommodate the maple top and steaming-bending the maple to fit the arm contour on the top of the guitar.

Here are some pics, apologies for the poor quality, I used my phone to take these.

Here is what the guitar looked like before I got started:


Removing the old frets using my modified end nippers (ground flush on the end) and a soldering iron. It looks worse than it actually is because the fretboard was really dirty. I managed to get minimal chipping of the rosewood:


Levelling the fingerboard using a heavy steel sanding beam and 220 grit paper. I then used a radius sanding block (16") with 220 through 600 grit paper:


New frets installed, still need polishing though. Some of the frets could have seated better but I chalk that down to not bending them properly before installing. All in all not too bad for a first-timer though, but a nerve-wracking experience!


TO BE CONTINUED.....
    This is relevant to my interests! ?

    Seriously though I'd love to see/read more about how to steam bend maple ?

    As a fellow RG player I wish you luck ?
      Maple bending time! This was a scary task since my maple cap cost twice as much as I paid for the guitar itself. I decided to prebend before glueing the top onto the guitar. I used a household steam iron (which will now probably never be the same again), some scraps of wood to get the bend straight, the guitar body with the finish still on there to prevent getting too much moisture into the basswood and lots of clamps. I had practiced on some scraps of kiaat beforehand and I must say, being a harder woor, the maple bent much more smoothly than the kiaat, which kept splitting.


      Next up, time to remove the finish. Turns out the guitar had been refinished at least twice before (originally black, then some weird red/blue/yellow clown vomit finish then black again). I only took the finish off of the top for now so that I could glue the maple top on and then remove the finish from the sides whilst sanding the maple true with the rest of the body later on. I didn't take pics of the next step because I was too busy crapping in my pants, but once the finish was off I took a hand planer, a belt sander and an orbital sander to the top of the body to remove 5mm of wood. Don't try this at home, kids, use a proper planing machine and thickness sander. It took a LOT of work (and LUCK!!) to get the body nice and level by hand!
      Here's that clown-vomit finish that I found underneath the black...ugh!!


        I have such a soft spot for the RG ibby's. I'd love to get my hands on a project like that.

        Take loads of pics.......
          I have such a soft spot for the RG ibby's. I'd love to get my hands on a project like that.

          Take loads of pics.......
            Aaaaand here are the latest photos. After pre-bending the maple and planing the basswood body down to size, it was time to glue the top half of the maple on there. The maple had obviously cooled down by now and there was some springback (ie the bend wasn't as sharp as I'd originally made it). Neve fear, I thought...there was only a small gap and I was sure that the clamps and glue would take care of that without me having to steam the maple again...
            ...WRONG!!!!!!!!!! Here is a pic of the lovely crack in the expensive maple top, as a result:


            So, my next mission is to try and find an acceptable way of filling the crack. The tricky part is, I will be staining the maple a deep blue colour so I will have to find a way of blending the fill and the rest of the top. I was also a little hasty in glueing the maple on, as I have quite a visible seam between the two pieces. I should have spent more time getting the edges true. Live and learn, eh?


            Here's how the whole thing looks at present. I've routed the pickup, neck and trem cavities by hand (using chisels, a stanley knife, various rasp files and sandpaper). This took a good few hours!
            Bear in mind I have done no sanding to the actual top surface so it still looks like a bear's bum, I will get to this once I've figured out how I'm going to fill.


            More pics to come once I get some more work done ? Thanks for reading!
              Thanks Chad and Flatfourfan!

              Yep, RG's are amazing guitars, this is a '91 MIJ model and even though it's a beater which I was lucky to get for cheap-cheap, it is by far my favourite axe! I probably should've gotten a second-hand Starfire or something to practice working on first, but I figure even if I don't do a great job on the refinish, at least the Ibby will still play like a dream and I can always redo it later on when I have more experience if I'm unhappy with the work I'm doing now ?
                So pissed off at myself for that one, dude...all could have been avoided if I hadn't been so impatient >☹
                  I know acoustic guitar luthiers use good old superglue to fix cracks in acoustic guitar tops. When the can't get the crack to close on its own they pump as much moister as the can into the top (steam whatever) to try and get the crack as closed as possible. They then fill in the crack with the superglue (low viscosity/runny superglue). If done well the crack becomes all but invisible.

                  I don't know how viable it is for you, as your top is a lot thicker than an acoustic, but it might be worth googling a bit...
                    I've seen a similar thing done with maple necks where dings are ironed out using a soldering iron and a damp cloth. I'm not sure it it'd be an option in this case though as in those situations the steam helps the compressed wood fibers contract again to regain their original shape. In this case, the crack was caused by the wood fibers been over stretched to the point where they separated from one another. Might be worth looking into though ?
                      Hey Clint, way to go on diving into this project! Cool!

                      WRT the visible seam gap - make it a feature! If you can get a really thin strip of a darker wood, you can shape it to slip in to the gap(s) (and glue in place). Think in terms of really narrow binding or purfling strips, or similar. This will produce a definitive dark strip through the top of the body, even after sanding and staining, and could look cool.

                      As for the crack, ouch* ☹ . If you fill with s-glue, then the stain won't penetrate the filled area, and you will still have this visible. You could start to sand, and keep a bunch of the sawdust to then mix with wood glue to fill the crack, and then continue sanding. But I fear that this fill would probably also be visible after staining.
                      Another method used on cracks, is to shape the crack and then using an off-cut piece, identify almost matching grain-pattern, cut and shape a sliver of this to fit in snugly, and then glue it in. This would obviously take time, but will be your least visible option. I've seen this done on an acoustic top.

                      But, great stuff so far, and keep us posted ?
                        slyd wrote: Hey Clint, way to go on diving into this project! Cool!

                        WRT the visible seam gap - make it a feature! If you can get a really thin strip of a darker wood, you can shape it to slip in to the gap(s) (and glue in place). Think in terms of really narrow binding or purfling strips, or similar. This will produce a definitive dark strip through the top of the body, even after sanding and staining, and could look cool.

                        As for the crack, ouch* ☹ . If you fill with s-glue, then the stain won't penetrate the filled area, and you will still have this visible. You could start to sand, and keep a bunch of the sawdust to then mix with wood glue to fill the crack, and then continue sanding. But I fear that this fill would probably also be visible after staining.
                        Another method used on cracks, is to shape the crack and then using an off-cut piece, identify almost matching grain-pattern, cut and shape a sliver of this to fit in snugly, and then glue it in. This would obviously take time, but will be your least visible option. I've seen this done on an acoustic top.

                        But, great stuff so far, and keep us posted ?
                        Thank you for the words of encouragement, Slyd, I need them right about now, starting to sort of wish I'd just gone with a simple, solid basecoat/clearcoat; I'm sure that wouldn't have caused me nearly as many sleepless nights plotting and trying to come up with solutions...haha

                        Neon Gecko had a similar idea for the book end join; routing out a small section to widen the gap by a couple of mm and fitting a piece of dark wood to create a nice contrast (I think I owe this man a GOOD few beers for all of the great tips, ideas and advice he's given me the past couple of weeks!!). I will definitely look into this option if it comes to that, it's a bloody good idea! I might not need to though, I have noticed that the join is more open at the top than at the base - so in other words if you look at the join from the bottom, with the neck facing away from you, it looks like this \/ except not as exaggerated. I need to sand 2mm off of the top in order to bring the body back down to the correct thickness of 44mm so I am hoping that that will be far enough to eliminate the gaping seam which you see now ? Fingers crossed!!!

                        As for the crack, I really like the idea of matching and fitting an offcut piece in there but I'm not sure if I have the skill to pull that off. Might be something to practice and see if I can get it right on my remaining scrap though before I attempt it on the guitar, thanks for that one as well, man! ?

                          25 days later
                          Hey dudes!

                          It's been a little while since I've updated this thread but I've been doing my best to take photos of each stage of this project. Without further ado...

                          I managed to finish sanding the last bit of finish off week before last (took me FOREVER!!!). Sanding the maple top down using sanding blocks to get the guitar to it's correct thickness (44mm according to Ibanez' specs for the Jem...I was happy with 45mm which this guitar is now) while keeping everything level was a challenge and a half! The next step was to drill out the strap button screw holes because they were quite badly stripped, and fill them. For this I used some tiny scraps from the maple top which I cut and sanded to fit the holes. These pics were taken before sanding the plugs flush, I don't know why I didn't take them after, but I get a little carried away when I'm working ?


                          Next up, I needed to rout out a 2.5-3mm cavity for the neck overhang, between the neck pocket and neck pickup cavity. This again had to be done by hand since I don't have access to a router. I used a kerf saw to carefully cut kerfs at about .25mm short of the mark and then used a sharp chisel to cut the route which i then sanded. Again, forgot to take a closeup "after" pic but you will get an idea from some later pics anyway.


                          I also did a quick mock-up to see how everything fit; great success! Also did up a piece of scrap maple to test the final colour with clearcoat.


                          T

                          More to come shortly!


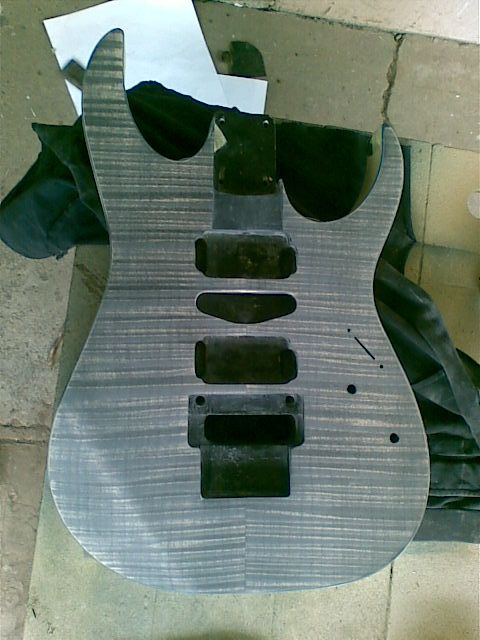
                            So once I finally got the the staining stage, I decided to go with my original plan of doing a faux PRS-style binding. Taped off the area which would be left exposed as binding and then painted some clearcoat over the area with a brush to prevent the stain from bleeding.


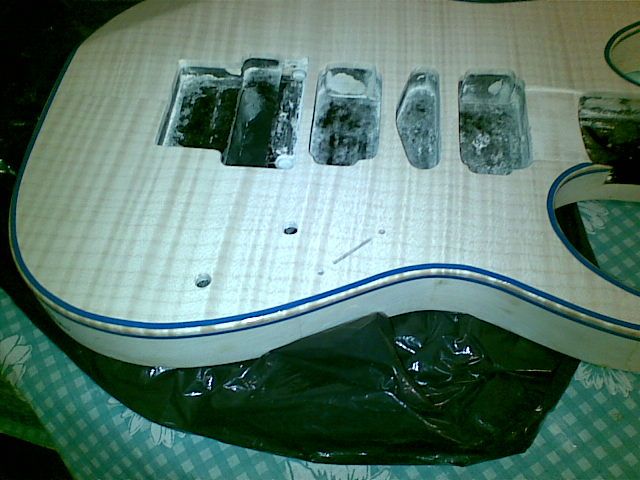
                            Once this had dried, I put some tape over the clear coat and proceeded to do the black stain which would be sanded back to make the grain "pop" nicely under the blue.


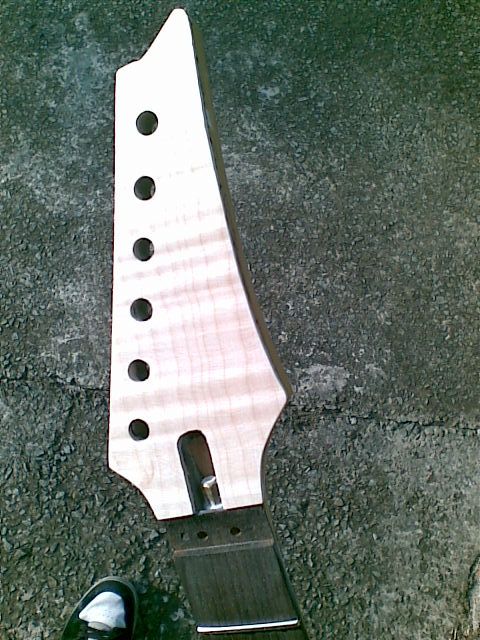
                            While waiting for this to dry, I decided to get started on the headstock. I'd spent a good few hours sanding the veneer down from 7mm to about 2mm as I felt that taking too much material off of the front of the headstock would be a bad idea since 1-piece maple wizard necks are often touch and go anyway due to their thinness.


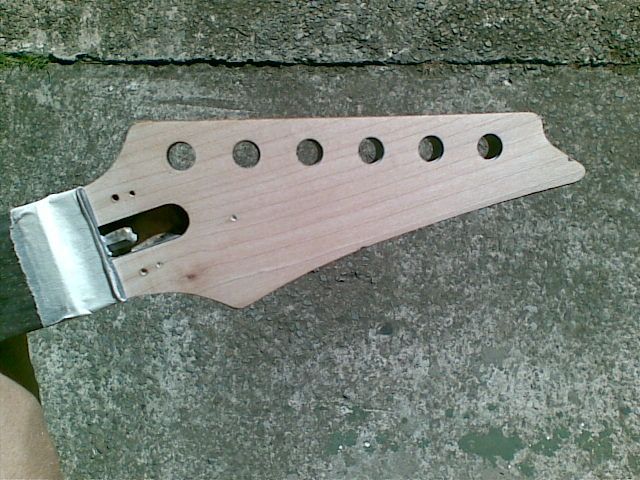
                            Front of the headstock sanded and ready for the veneer.


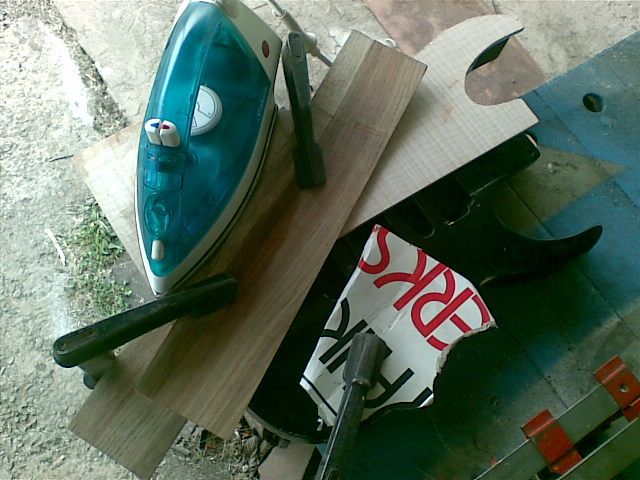
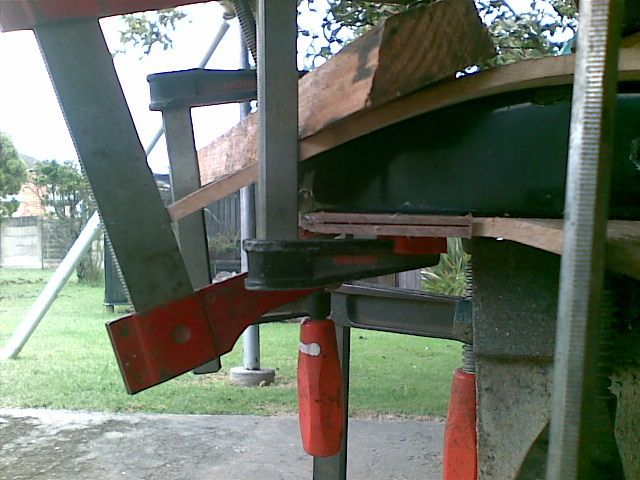
                            More clamps than you can shake an original Wizard neck at ?


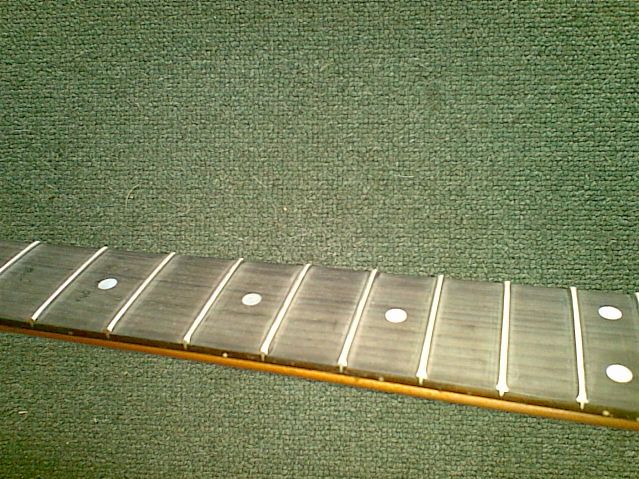
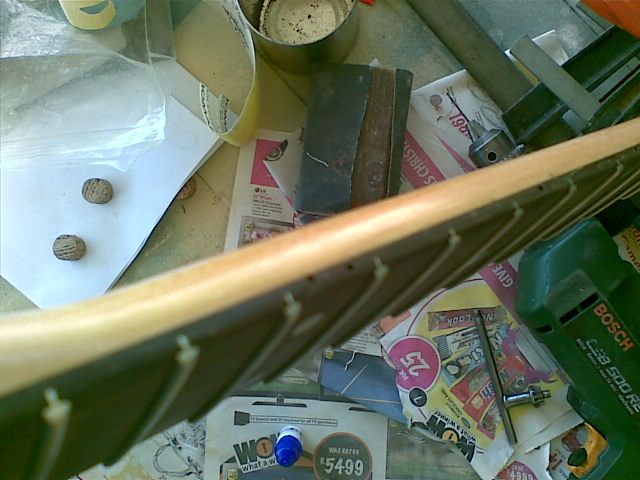
                            While waiting for the glue to dry, I drilled out the old side dot inlays which were falling out (some were pushed in and looked really crappy) and replace them with new ones. Again, no nice "after pic" but you will see later on how it came out anyway ?


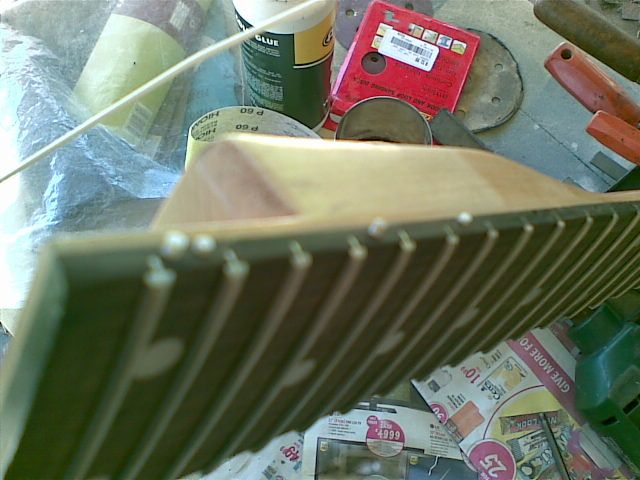
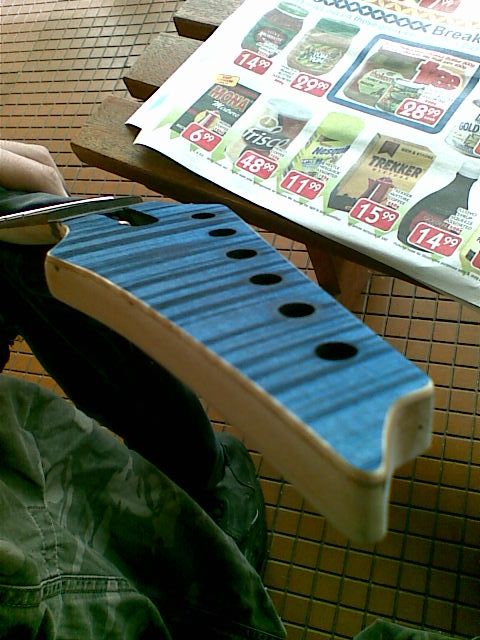
                            And here's the headstock veneer, complete with dried wood glue:


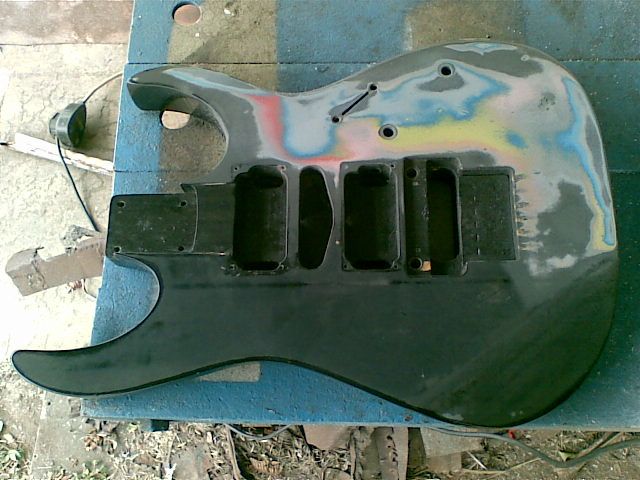
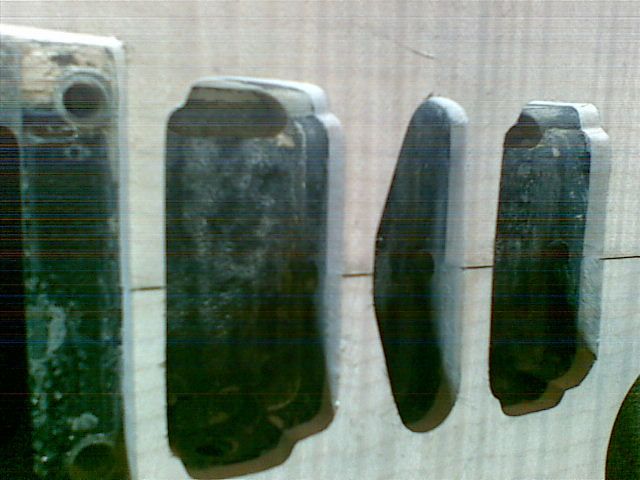
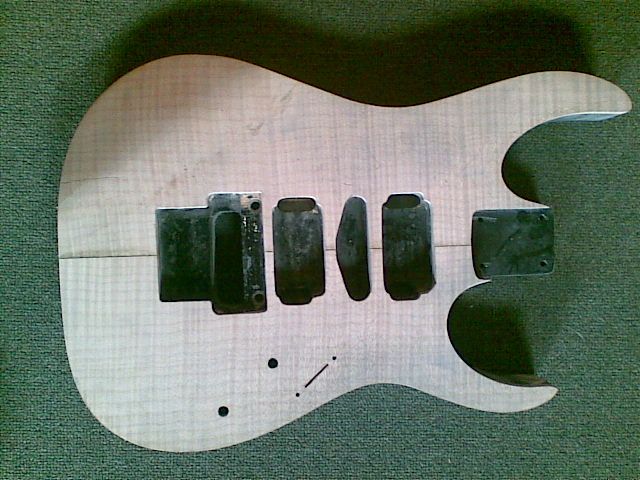
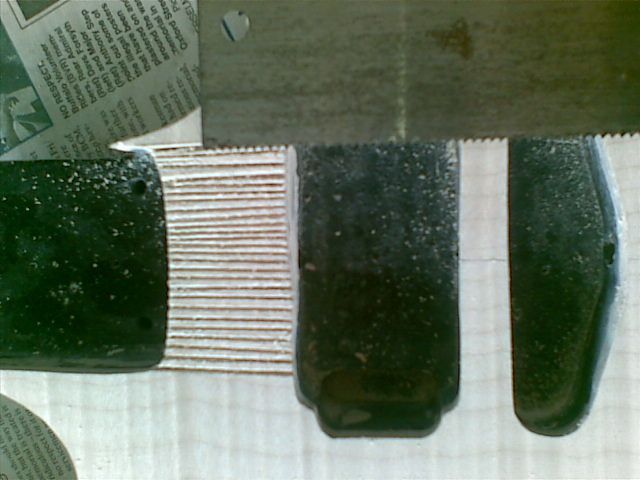
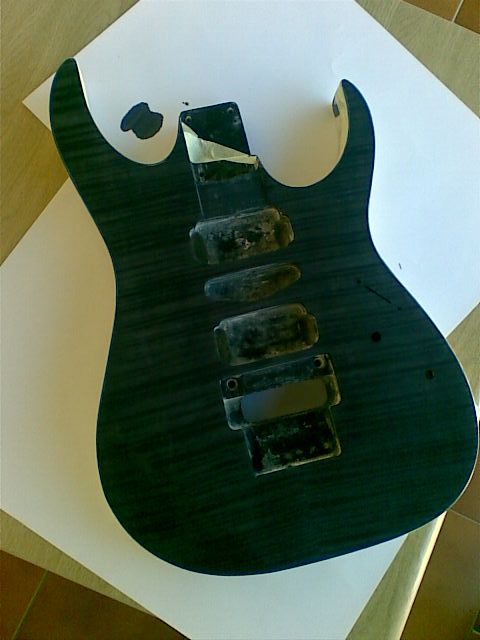
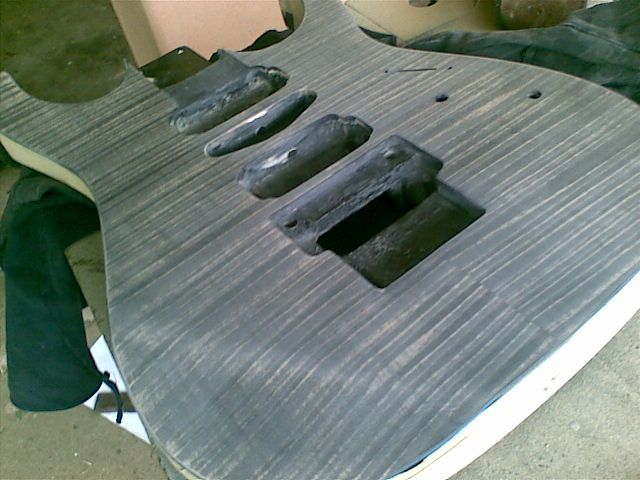
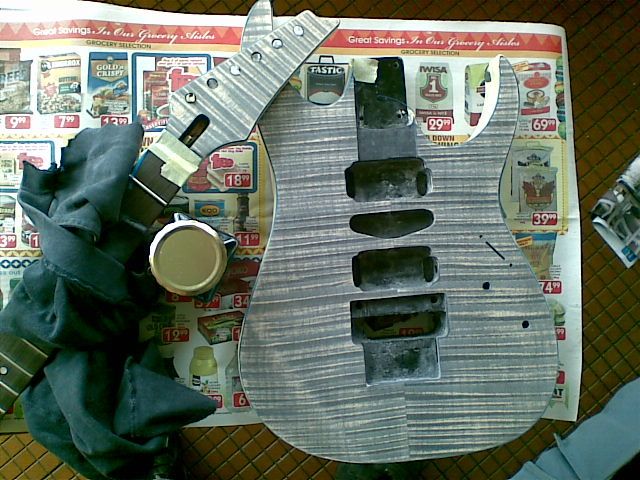
                            After sanding, I did the binding trick for the headstock as well and then stained it black. In the meantime, it was time to sand the black stain back on the body:


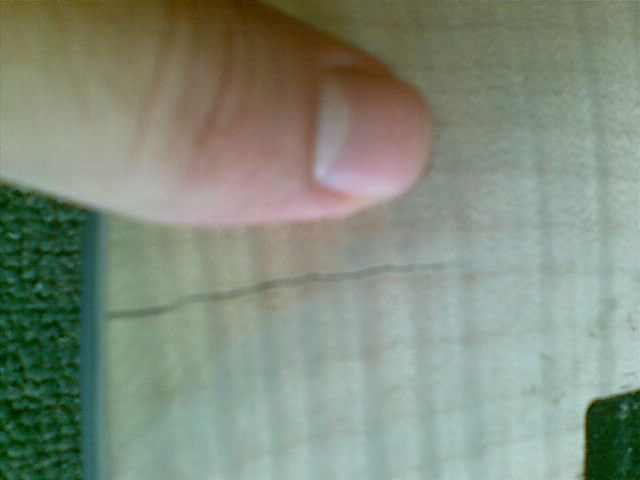
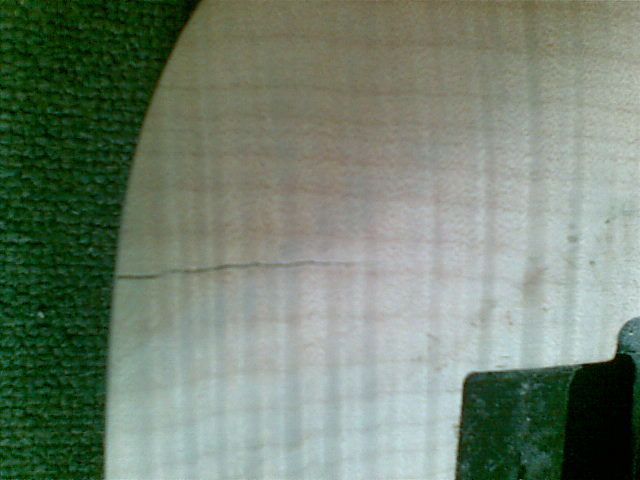
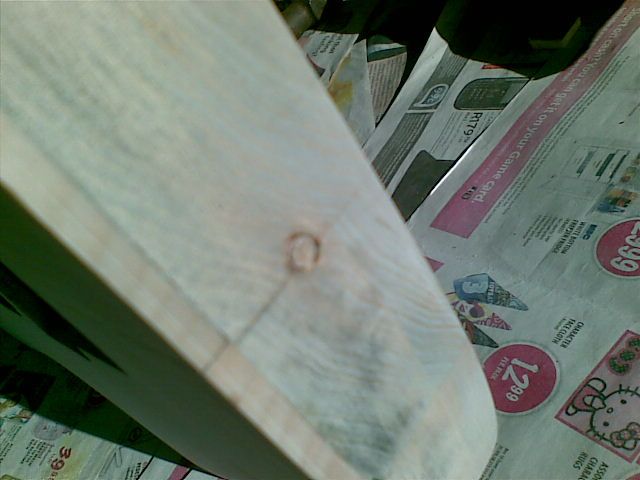
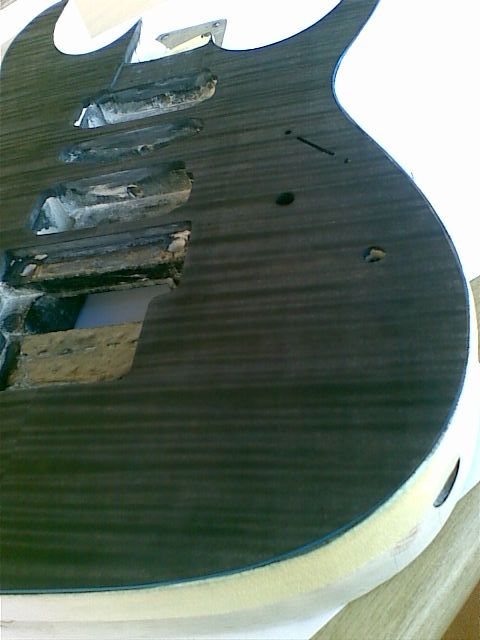
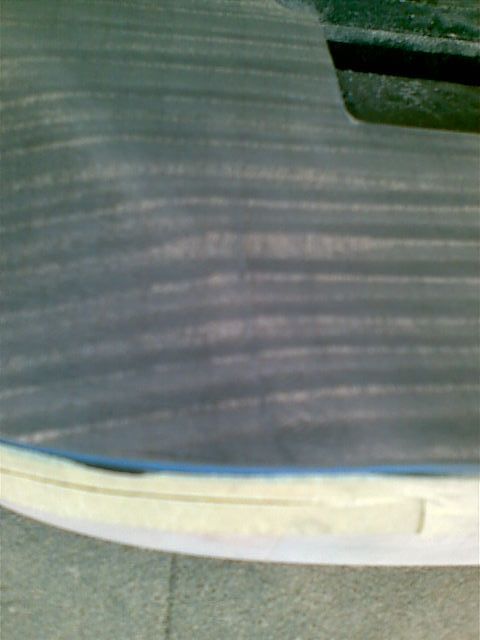
                            Here is a close-up of that dreaded crack; not nearly as noticeable as before!


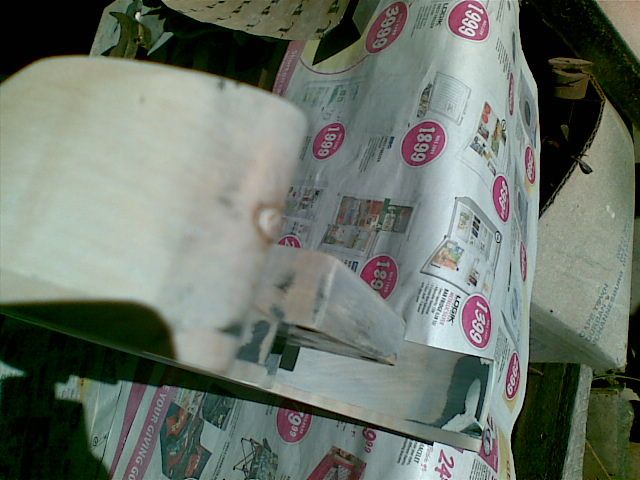
                            And the book-end seam:


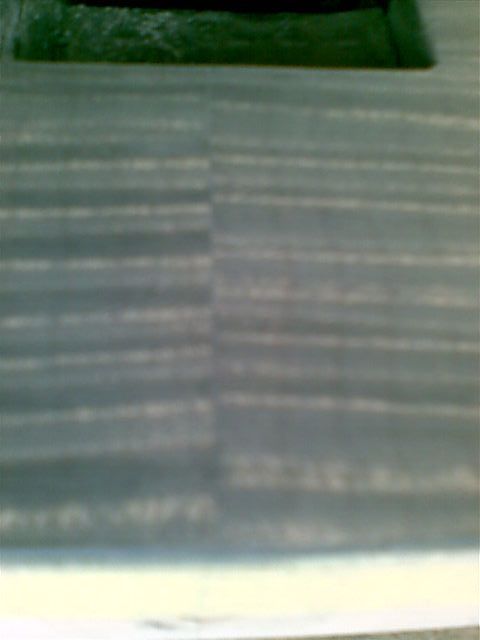
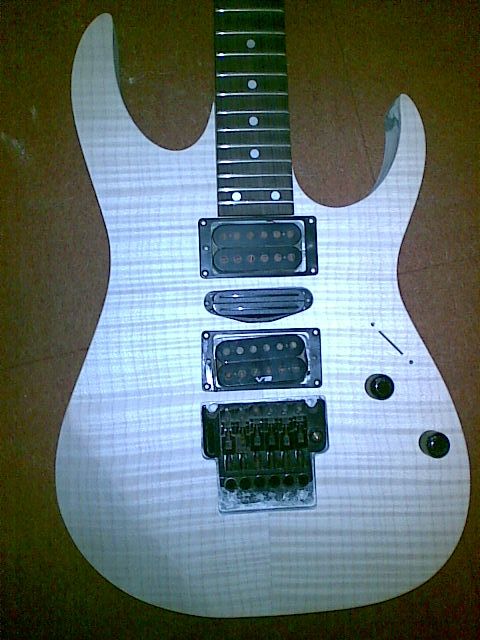
                            Don't they make a cute couple? Ready for the blue stain (this was the really exciting part!)


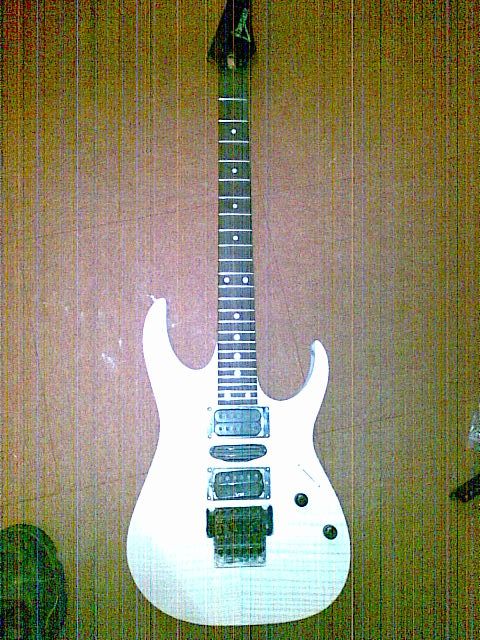
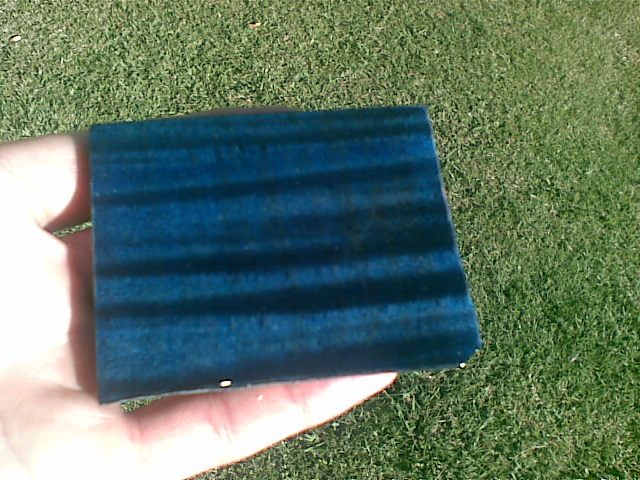
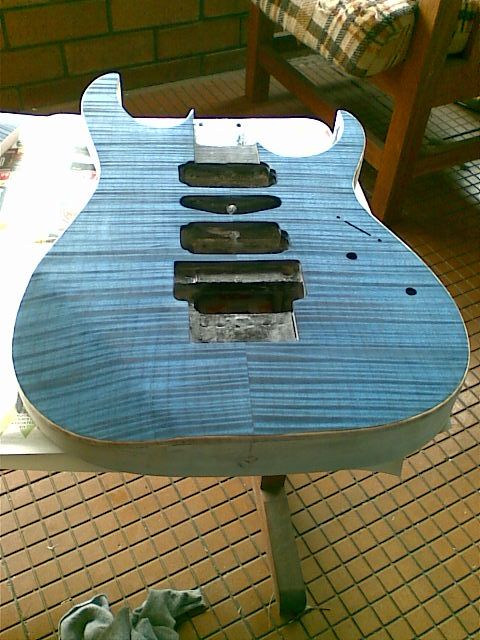
                            Body and headstock stained the final blue. It came out 10 times better than I'd even hoped!


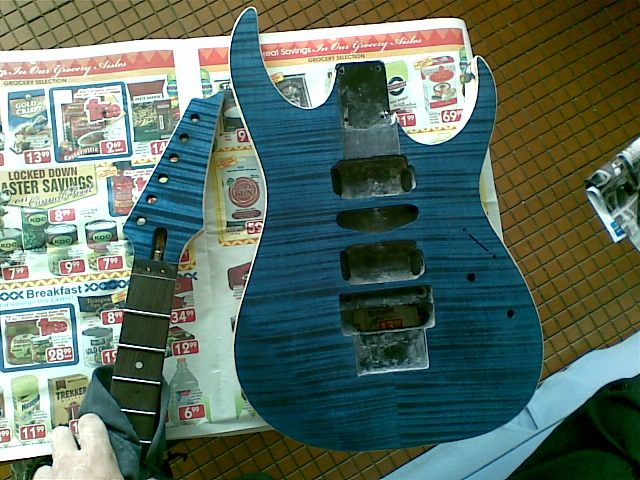
                            Check out the figure!!


                            Next up is the clear coat but it might be a little while before this is done since my dad will be helping me out and he has been hellishly busy, so I guess patience it is then. In the meantime, I have been cleaning up the "binding" and refinishing the neck with Tru-Oil. Unfortunately, while staining the neck I had some stain bleeding under the masking tape onto the top shoulder of the headstock. Tried sanding it out but wasn't very successful so there is a bit of a blue mark on the maple neck ☹ I had the same problem with the holes I'd drilled for the tuners; I didn't mask them off properly and some of the stain leaked through onto the area where the tuners go but I managed to get the bulk of this sanded out and also the tuners will be covering the worst of it, thankfully.

                            Anyhoo, thanks for reading, I will update once again once I've finally done the clearcoat, let it cure, sanded, polished and reassembled the axe...CAN'T FREAKIN' WAIT!!!!

                            Until then... ?
                              Dude that looks awesome, very PRS-ish... :applause:
                                Thanks dude! It's been a bit of a challenge cleaning that binding up but it looks like I'll have some time to get it just right ? It's looking better than it did in these pics already thanks to a little 600 grit sandpaper and a stanley knife blade!
                                  at first I thought you were nuts. But she's looking good man. Keen to see it finished.
                                    Haha don't worry, mate, I STILL think I'm nuts, but hopefully it turns out well in the end ?
                                      Boy, don't you just love it when a plan comes together, and the little "oopses" turn out to be not the train-smash you originally thought they were ?

                                      Awesome, awesome !! She's gonna be a looker !

                                      Question: what make/type of stain did u use?