DrGonzo wrote:
Very Nice guys!
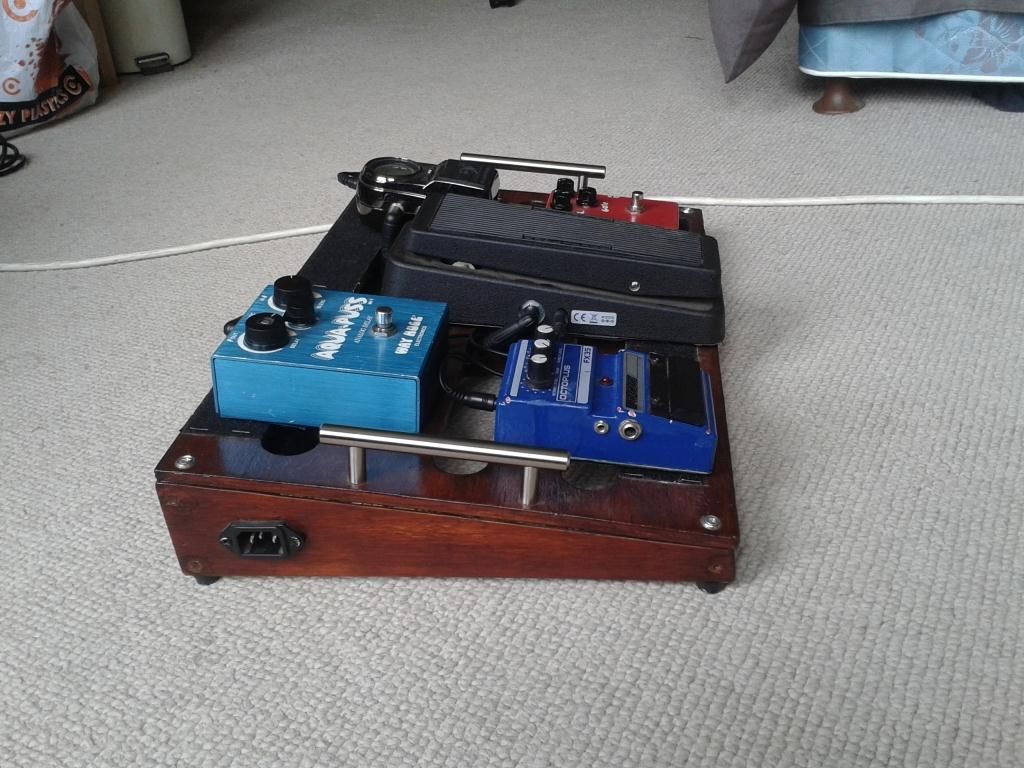
PJH im also thinking of doing a 2 layer one, rather than an angled one.
Although that makes it more difficult to hide cables and stash a power supply. How did you get around that?
Dave
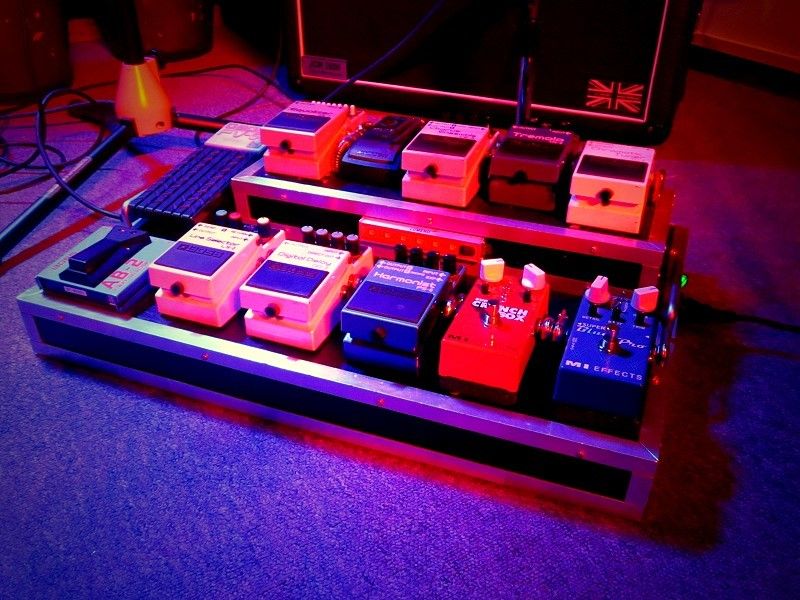
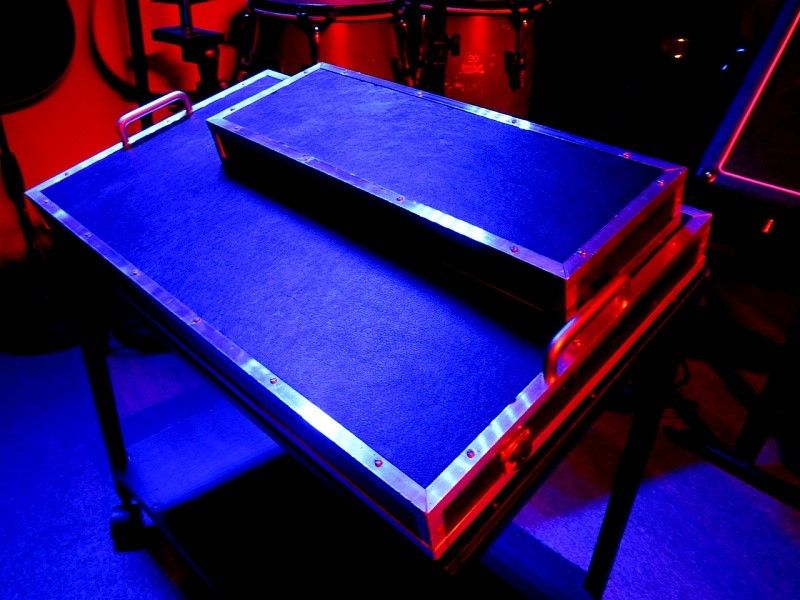
I built the board so that the step is hollow inside. That gives you a massive space to mount a nice big power supply in it.
I find that the "stepped" board is a lot easier to use than the angled type.
I also put an led lighting strip on the front of the step so that you can still see whats going on when it's dark on stage. This board is a design that has taken time to "evolve" over time and has worked for many years for me.
The "switcher" on the bottom left of the board is used to switch between the amp or my talkbox. I have three outputs on it. One goes to my amp, the next one to the talkbox and then there is the balanced out (XLR) from the Redbox (which is inside the board) and that goes to the desk.
The input jack is designed to switch off the transmitter (when I can't or decide not to use that radio. As soon as the cable is unplugged the board is setup for the radio.
I had a flightcase built for the board as well. It's seen many, many flights and buses, trailers etc and is still going strong.
Cheers,
Peter.
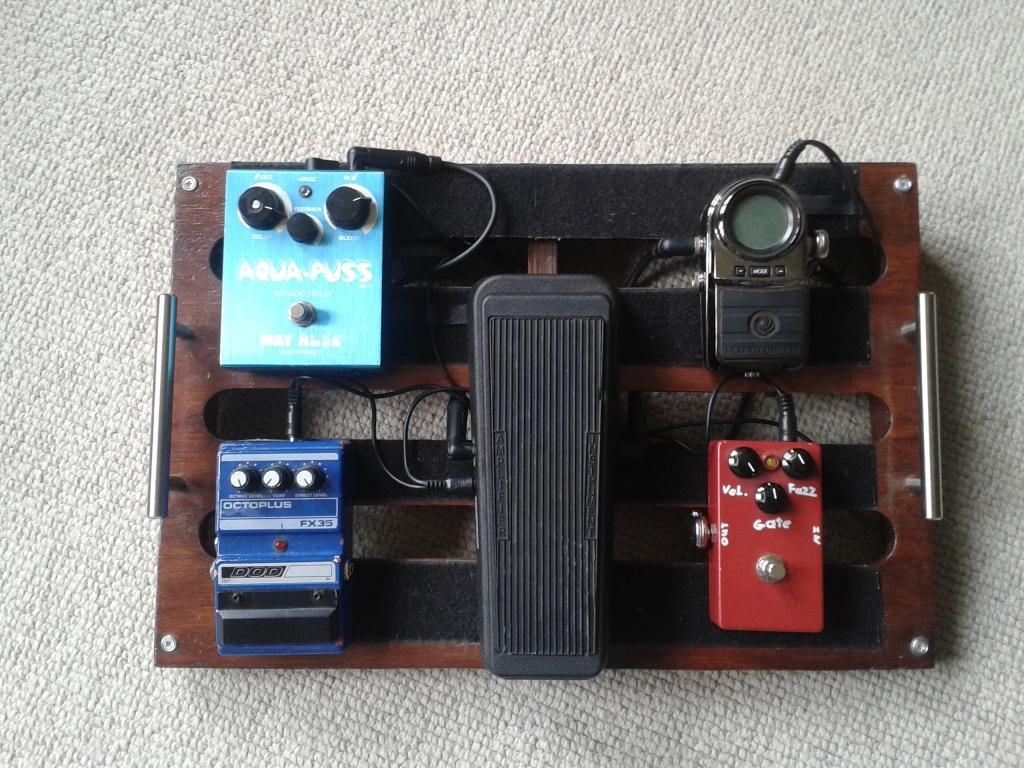

 ) would be to make the velcro extend closer to the horizontal edges of the board.