STEP 3
Building you pad.
This is probably the easiest step. You need:
Some thick rubber (I had some conveyor belt rubber, 30mm thick!) the thicker the better.
A PC reset or power switch.
Masonite disk.
Some springs from some old pens. I use 1 spring cut in half per pad.
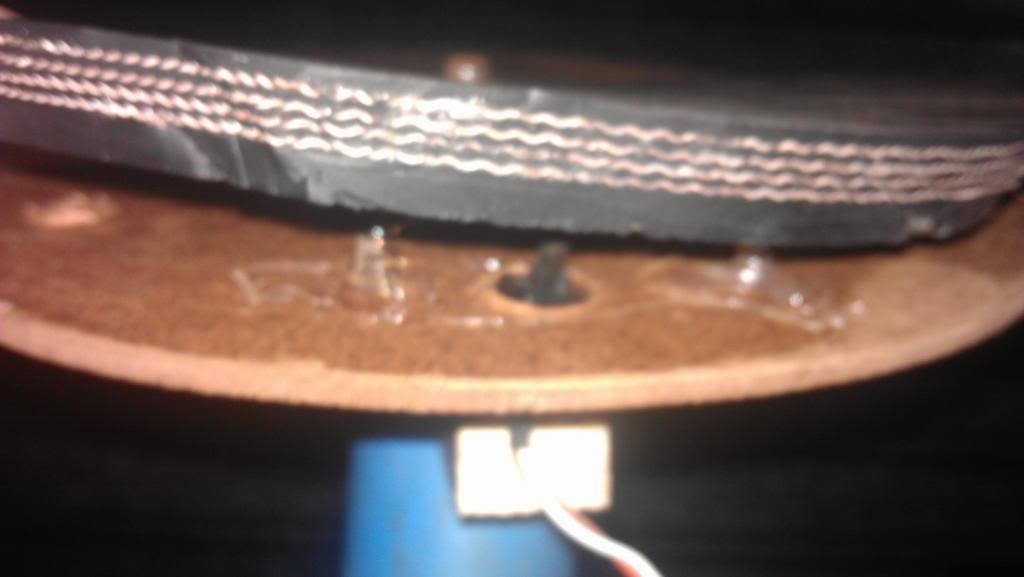
So all you need to do is drill 1 hole and a recess on either side of the hole into tour masonite disk. The hole must be juuuuust tight enogh to squeeze the square button into so that the switch part faces up towards the rubber. Cut your spring to the correct length and glue each one up right with some hot glue. Here's a pic of mine. (Sorry it's so blurry, but you get the idea)

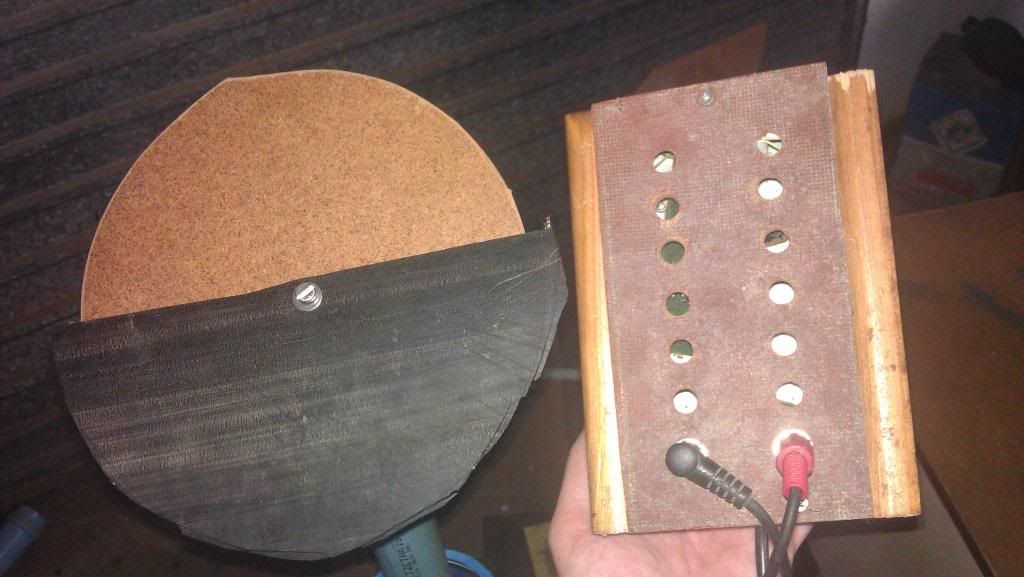
Once that is done, cut your rubber to size and attach it to the masonite. I drilled a second hole and mounted it with a bolt.

Because this is a contact switch it doesn't matter which wire goes where from your switch to the Jack that will plug into your controller box. Solder the wires to the jack and we're almost done.
Next, plug in your controller box to the PC via USB and fire up Reaper and SD. Open your Virtual Midi Keyboard and click on it so that it is highlighted.
Adjust the screw on top of the rubber until it is sensitive enough to be struck and trigger while releasing and afterwards and not staying closed.
Here's a test vid...
Any questions give me a shout.
I will start a thread showing our E Kit build when I have some time.
Cheers