(Log in to disable ads.)

Hi

A friend and I wanted to make a DIY E Drum kit as he is a drummer in the band we both play in, and he has no where to practice during the week between practices, while us guitarists can play whenever we need to. So we chatted for a while and decided to go ahead and make a full E Kit. This isn't that tutorial...... ?

This makes up one of the parts that we have put into this kit. It is a very simple (tedious...) box that is used in conjunction with your DAW software, a virtual midi keyboard and your preffered drum sampler software (Superior drummer, EZ drummer etc.) What I am hoping to achieve here is an easier method of triggering any cymbal or drum that doesn't require velocity detection. Simply put, these triggers put maximum hit on the drums with no variation. They are not very sensitive. They will not let you pick up rudiments and rolls. Just the odd whack now and again. (We will discuss sensitivity later.)

Now that we have rid ourselves of false expectations I can show you how to do this and why you would think about it. This is by no means the only way of doing this, it's just the only way I managed to do it with my limited understanding of electronics and musical equipment.

Ask me questions and I will try my best to answer and help.


Stay tuned...


http://s1362.photobucket.com/user/g_man_1983/media/IMAG0339_zpsdbd3abfc.jpg.html
    STEP 1:


    You will need to decide what items you want to hit on your DAW software, crash, ride splash etc and then map it to your virtual midi keyboard. I personally use reaper but many other DAWS offer similar functionality.

    Here is the tutorial I used to get it working. http://wiki.cockos.com/wiki/index.php/Recording_MIDI

    Once that is done you will have something like this...


    I want these 3 cymbals in my kit so I look at what the centre note is (f#3 in my case), and to trigger them I press J, 2 and 3. See how they are highlighted on my keyboard and my kit? You might have to play with finding a different location and set of keys than I did.


    Cool so that works.

    Now to find a donor USB keyboard...
      STEP 2:

      Find a suitable keyboard and destroy it.


      Ok so I was lucky in that I had 2 identical keyboards that I butchered on my quest for knowledge, and I messed up the first one with some late night soldering I am ashamed to admit. But these are the basic steps that will ultimately help you to find out what goes where. This is what the brains of the keyboard look like


      Basically this keyboard like many others use what is called a shift register. It takes a leg number from Bank A and makes contact with a leg number on Bank B and gives you the corresponding character on the screen. I found tutorials explaining all of this to me like this one here http://www.instructables.com/id/Hacking-a-USB-Keyboard/#intro . Give it a read to understand what I am talking about. I used a multimeter to trace the pinouts, it takes no time at all.

      Once you have the pinouts and know what pin goes to where you will solder the wire from bank A Pin X to the tip of a jack plug and bank B PIN Y to the sleeve or ground of that same jack plug. Do this for as many as you want to be able to hit. I started with 12.... very tedious work. I now only need 2 because we ended up building an entire E Kit from scratch...

      You will then attach a jack plug to a pc switch (reset or power button, not the old AT ones ? ) . Pressing the switch will close the circuit and Bank A pin X will connect with Bank B pin Y and a character will be fired off into the PC. To test I just plugged in the controller to my PC and opened notepad and made sure each letter was correct and then labelled the jack plugs so that I knew what went where... mine looked like this

      It is messy but it works...
        STEP 3

        Building you pad.

        This is probably the easiest step. You need:

        Some thick rubber (I had some conveyor belt rubber, 30mm thick!) the thicker the better.

        A PC reset or power switch.

        Masonite disk.

        Some springs from some old pens. I use 1 spring cut in half per pad.

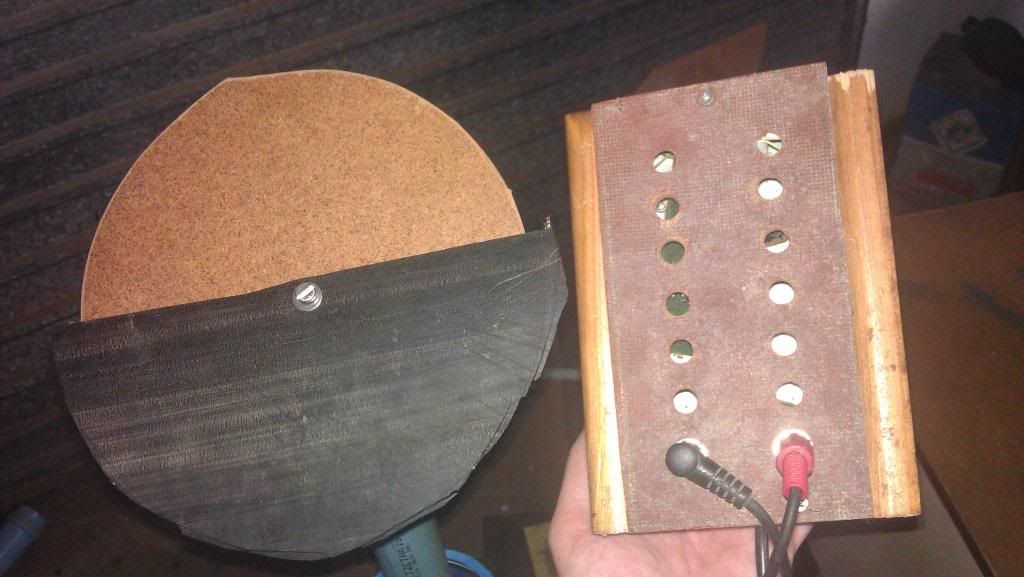
        So all you need to do is drill 1 hole and a recess on either side of the hole into tour masonite disk. The hole must be juuuuust tight enogh to squeeze the square button into so that the switch part faces up towards the rubber. Cut your spring to the correct length and glue each one up right with some hot glue. Here's a pic of mine. (Sorry it's so blurry, but you get the idea)


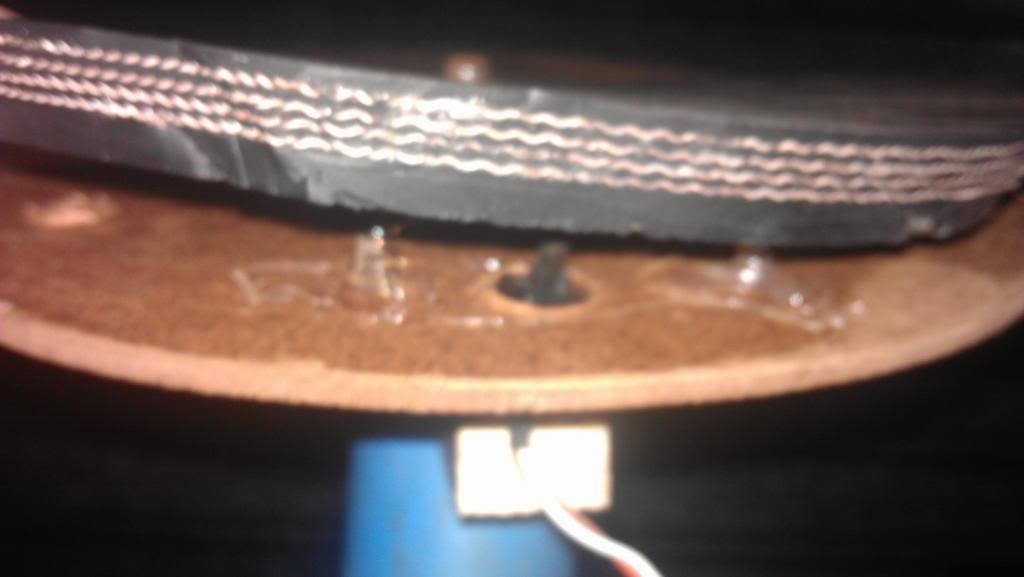
        Once that is done, cut your rubber to size and attach it to the masonite. I drilled a second hole and mounted it with a bolt.


        Because this is a contact switch it doesn't matter which wire goes where from your switch to the Jack that will plug into your controller box. Solder the wires to the jack and we're almost done.

        Next, plug in your controller box to the PC via USB and fire up Reaper and SD. Open your Virtual Midi Keyboard and click on it so that it is highlighted.

        Adjust the screw on top of the rubber until it is sensitive enough to be struck and trigger while releasing and afterwards and not staying closed.


        Here's a test vid...


        Any questions give me a shout.


        I will start a thread showing our E Kit build when I have some time.

        Cheers


          Write a Reply...