Greetings, GFSA!
Just thought I'd share some pics of my little holiday project with you, nothing too hectic but I'm quite proud of it, myself.
I regret not taking before and after pics or any progress pics during the process and I also apologize for the poor image quality as I used my cellphone.
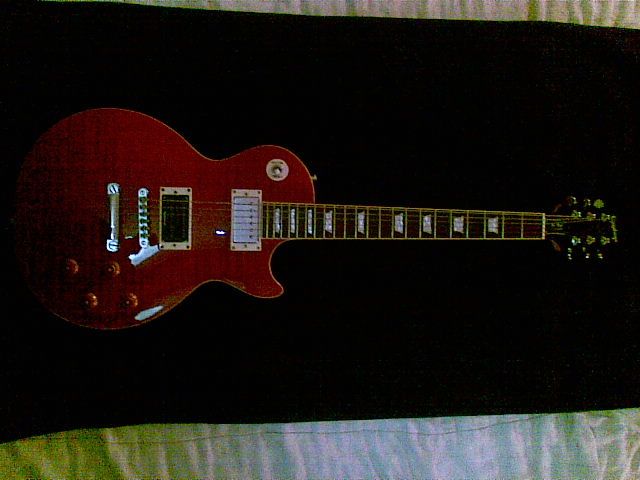
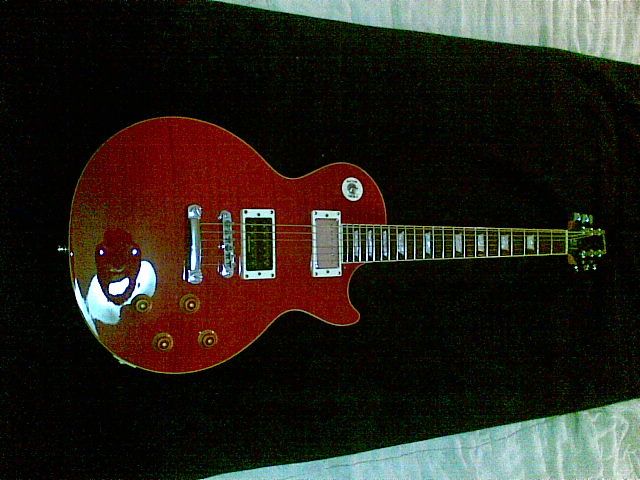
This is my only guitar at present, my 2005 Made in China Epiphine Les Paul Standard, and although she isn't worth a whole lot money-wise, I seriously love this guitar! She has shared stages all over the country with me and has never let me down, sounds awesome (after I replaced the stock bridge pup with a Seymour Duncan Invader, of course!) and plays like a dream...super low action with minimal fret buzz...not bad at all for what is considered an entry-level axe!
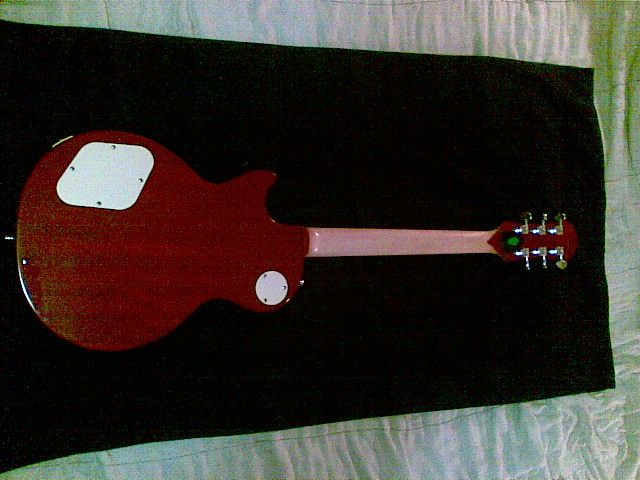
My only real complaint was always the sticky poly finish on the back of the neck which became a pain when my hands would sweat on stage, so after much contemplation I finally decided to sand off the finish while I was on leave in December for a more natural feel. I had my misgivings, although it is not an expensive guitar, it is my ONLY guitar and as I mentioned before I love it to bits...but I am very happy with the result and she is even more playable than before now.
There are many threads on various forums and a couple of videos on YouTube for this but I will post here the way that I went about doing it:
- I started by ordering a bottle of Birchwood-Casey Tru Oil (a finish containing linseed oil which is used to finished gunstocks), for what came to 180 bucks for a 3oz bottle. I had to order it online as not a single music store, hardware store or gun shop had a clue what I was talking about. Got myself some sandpaper (220, 320, 600, 1200 grit), some fine steel wool and a bottle of lighter fluid (the kind used in Zippo lighters containing naptha, not the butane gas type).
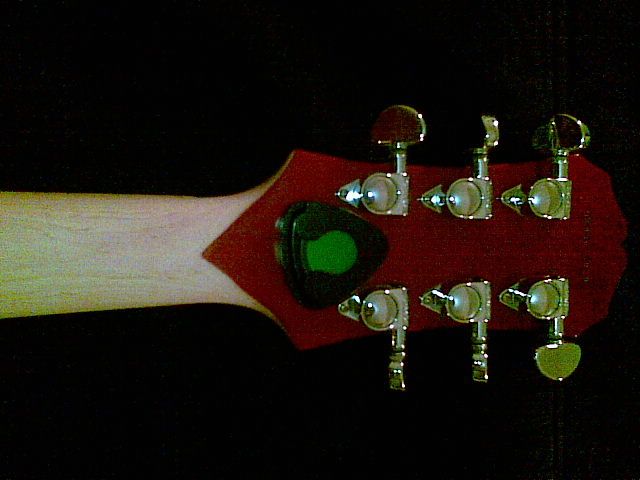
- I taped off the guitar body with masking tape and newspaper to keep dust from getting onto the pickup cavities and from scratching the finish on the body. I did the same with the fretboard binding and the headstock and made sure to measure and mark off a "stinger' (a-la Zakk Wylde's axes) on the back of the headstock with a good few pieces of masking tape, as the sanding would eventually wear the tape off.
- Next I took some 220 grit sandpaper and started sanding through the poly coat on the neck. I took it very slowly, being careful to move to a new area as soon as could see that I’d gone through the poly (this takes quite a while as they ply this stuff on in the Chinese factories, but I didn’t want to take a chance by going crazy and reshaping the neck – slow and steady does it!). Once I had most of the poly off of the neck I did a little more light sanding with the 220 grit in the places where I’d taped the neck off at the heel and at the stinger. This is the most difficult part because the masking tape wears down and you have to keep re-taping these areas. I also found that the poly was quite a bit thicker where the headstock joins the neck, so it was difficult not to sand the areas where I’d already broken through the poly, thereby reshaping the neck.
- I then moved on to the 320 grit once I’d gotten most of the poly off (please note, going down to bare wood with the 220 grit is not a good idea as you will end up taking too much of the neck off!), and slowly sanded down to bare wood. Once I was through the last bit of poly, I decided to reshape the neck a little (risky, I know, but the end result turned out great) and brought out the 220 again to flatten out the neck profile a bit and then take the shoulders off. Then back to the 320 to smooth things out.
- Then it was time for the 600 grit which I used lightly to get the neck nice and smooth. I would sand it as smooth as possible then take some lighter fluid, wet a rag with some of it and wipe it down the neck. This causes any tiny “splinters” (for lack of a better word…they almost look like tiny hairs on the wood) to stand up, which I’d then very lightly sand off. I finished off with the 1200 and wished I could just keep it like that; not a good idea though since the mahogany especially would warp over time from moisture if left unfinished, so enter the…
- …Tru-Oil! This stuff is ridiculously easy to apply, it is essentially a wipe-on varnish that protects the wood a little better than linseed or tung oil would but still maintains a relatively natural feel (I’ll get to that later though). I wiped down the neck one more time with lighter fluid just to remove any dust, dirt or moisture from the wood, let it dry for a minute or two and then began applying the Tru-Oil using a coffee filter.
- The key is to wipe on a very thin layer (and I mean THIN!), making sure that it’s spread evenly. I probably used about 3 drops to cover the whole neck for my first coat. You will read on some online forums that you can seal the wood by applying a thick first coat and then wet-sanding it with 600 grit paper, creating a “slurry” that sinks into the pored to seal them…this did not work for me, I tried it and had to end up waiting for the coat to dry before gently sanding it off again.
- 12 hours later, once my first coat had dried, I gave it a bit of a scuffing with the steel wool before wiping down with lighter fluid and applying my second coat, then repeated the process 12 hours later for my 3rd coat. In total I only used 3 coats for my final finish as I wanted a more “natural”, bare wood feel. Even after two coats, however, the neck was really glossy (the opposite of what I was going for; I later read that Tung Oil is the stuff I really wanted as it sinks into the pores of the wood where Tru-Oil mostly forms a film on top of the wood).
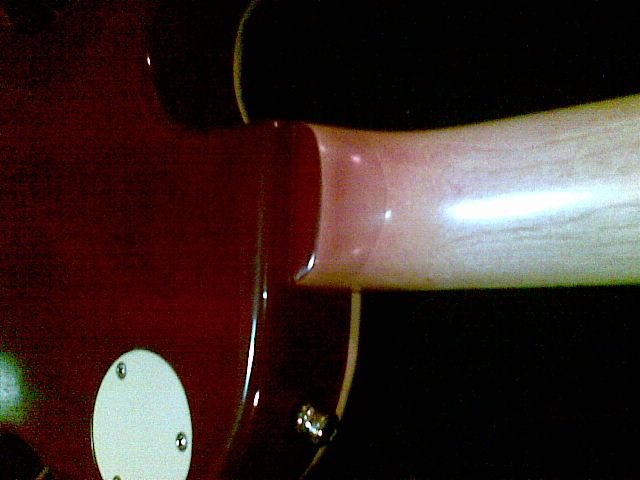
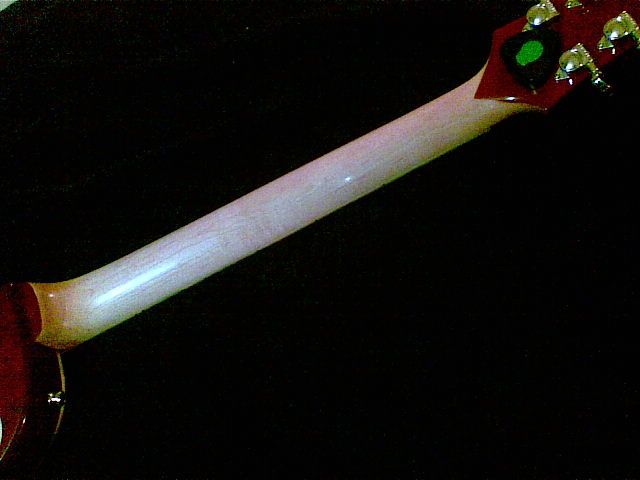
I let the guitar stand for two weeks in order to allow the finish to cure, then rubbed it down using the steel wool in order to take most of the gloss off (gloss = sticky neck, usually); I probably took 1 ½ coats off on the process, but as I mentioned, I was originally looking for a bare wood feel on the neck. Once this was done, it felt WAAAAY better to play on, but still the tiniest bit sticky, so I polished it with a small drop of car wax gave it a final buffing with the leg from an old pair of jeans, and OMG!!! That’s all I can say... The neck still has a finish protecting it (not the most durable by a longshot but it should prevent warping of the neck) but at the same time has a very smooth, natural feel which is a pleasure to play!
Here are some pics I took right after the final polish (again, apologies for the poor picture quality, this was an impromptu photo-shoot using my phone) ?