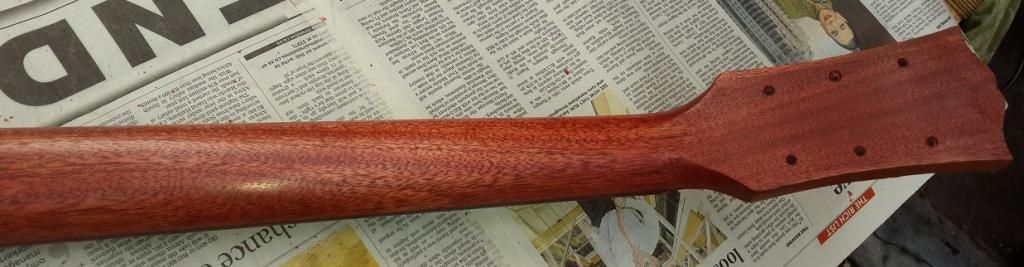
lapdawg I am busy finishing up the new necks to undertake the big step - jointing to the bodies. A little finishing on the neck is needed. 2 necks still need radiusing / rounding & then I am ready to start putting things together. I have an order of bridges, pots, switches, tuning pegs etc. that should be arriving this week. I am busy tearing down an old sewing machine to convert into a pickup winder & will soon order the remainder of the pickup parts. In have added the side dots to the necks. The 50's LP's had 2.2mm diameter dots. I managed find right size plastic rods for the job. I scored the binding by eye & drilled 2.2mm holes to 3.5mm depth. a drop of CA glue on each, dry-cut-sand-scrape. Done. This time round, I thing I have got the neck shaping right. I think the headstock transition looks right, as does heel at the other end. I think it was a good idea to step back, assimilate & try again. I done this better than my first attempt. I have used the same process, but think my technique was a little better. The real satisfaction is not being able to do something, but rather knowing that I'm improving.
lapdawg singemonkey wrote I've been missing this thread. Nearing the final stages now. Good to "hear" from you. I have finished shaping the 3 necks – lots of pleasure. The tuners, bridges, tailpieces and some of the electronics have also arrived. Each neck alignment measures good - the fret line on each has 17mm clearance above the body at the bridge position. I was nervous, but I seem to have gotten this right. If I can shake this flu, I’ll fit the necks this weekend. First, I need to open up the peg holes and do a few other minor things. It’s easiest to do these things before the necks are fixed, especially in my small space.
lapdawg The wood is taped right up to the joins. This ikeeps the hide glue out of the grain. Its especially important on the mahogany, as it needs to take a pore filler / stain. That will be covered in the next post. I have mixed up some hide glue. I have mixed it with minimal water to get the thickest consistency. If you look at closup pictures of the 50's bursts you can see a very distinct glue seamwhere the neck is joined - especially between fingerboard and maple top. I put excess on the surfaces, clamp quickly wipe away the excess ooze. Dad, which one is mine?
lapdawg G-Man wrote Superb! These things are looking soooo good. Thanks G-Man. They're still keeping me interested. ? First, here are 2 pics with the necks in: I made a rig based on some pics of a metal brace found from the Gibson Kalamazoo factory. The brace clips over the neck sides and nut end and perfectly lines up the markers for the bridgeand tailpiece mounts. I used 4 screws. A firm tap and the drill points are scored. This way the tailpieces are aligned to the neck and not to a predetermined placeon the body. Looking at my reference pics of the 50's bursts, it appears that position was not fixed. This can be seen where gap between the top volume control and the bottom end of the tailpiece is very varied across models. Holes are drilled. A 2mm hole from the tail hole to control cavity is drilled at an angle. A hooked piece of tinned bus wire is pushed through and necured when nut is knoccked in. This wire will solder to the pot casings. this eliminates hum and static when touching the strings.
Wizard I had the good fortune of meeting Graeme and seeing these instruments first hand. There is no photoshop or smoke & mirrors. They are as good in real life as the pictures imply. Amazing. I am inspired and humbled. Shaking a telecaster together is orders of magnitude easier than putting one of these LP's together. With my current skillset and error rate, I wouldn't currently be able to build one of these. I would have made at least one mistake; and it appears there is very little scope for error recovery in the LP design. But that's the inspiration bit. Now I'm motivated to lift my game to the next level.
singemonkey Wizard wrote I would have made at least one mistake; and it appears there is very little scope for error recovery in the LP design. Yeah, there's not much you can do wrong on these suckers without having to discard huge chunks of it.
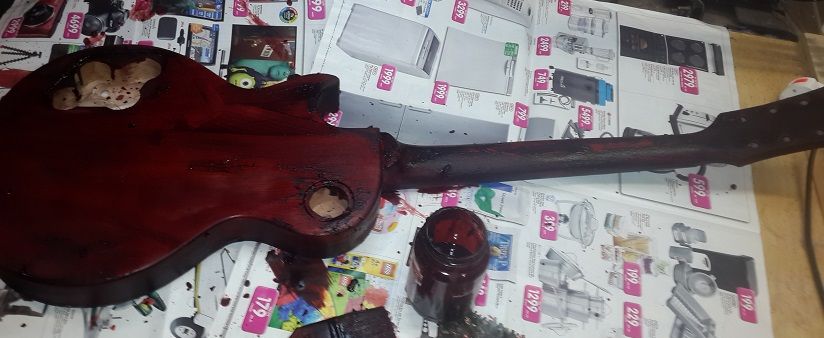
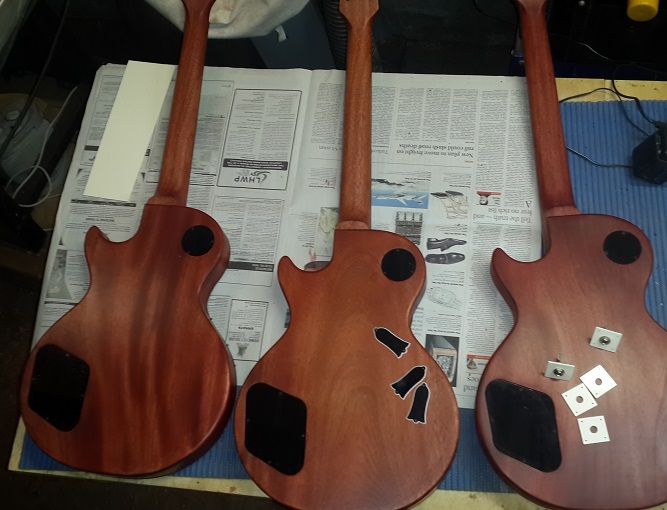
lapdawg singemonkey wrote Wizard wrote I would have made at least one mistake; and it appears there is very little scope for error recovery in the LP design. Yeah, there's not much you can do wrong on these suckers without having to discard huge chunks of it. I have a neck or 2 lying around to prove it... I have mixed up a filler to pore fill the mahogany. Its a sticky mix of red/brown/blue aniline dye (pts: 90/8/2), nitro lacquer; 4f (extra fine) pumice powder and a little boiled linseed oil. It will be wiped onto mahogany left for 10-15min and then wiped off. The pumice fills up & darkens the streaky mahogany grains. The mahogany turns to a warm reddish brown and even develops a bit of a sheen. I am not 100% sure how the 50's bursts were done, but this method is very close to how it was done, if not the same. The use of pumice is a violin makers method. I have done a few test strips on off-cuts to get my mix & method right. The result is quite exciting. The final sanding and cleanup should be done in a day or2, so hopefully I'll complete this over the weekend.
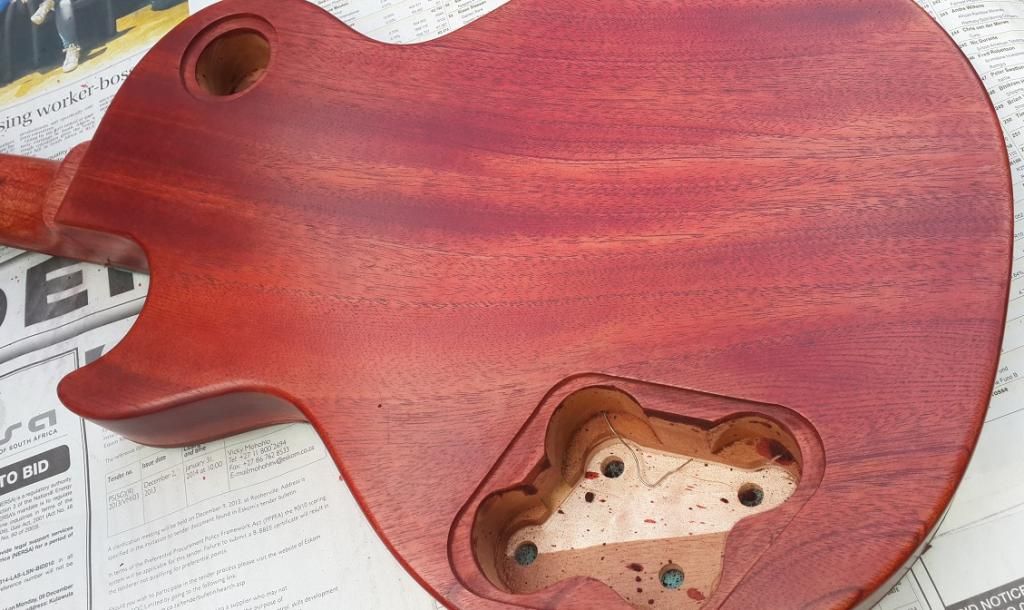
lapdawg I taped up & painted on the pore filler. I thought I'd try one first. This is really messy stuff. After drying I polished off the remaining residue with a piece of muslin. The finish is a lot redder than recent pics of most of the bursts. Unfortunately the old pics from 50's / 60's / 70's of these guitars are degraded and cannot be used for colour reference. With 30- 50 years fading on the guitars, the more recent images are also unreliable. A photograph is a bad colour reference anyway. I'm left speculating as to the original colour, and its not an exact science - especially as they weren't all the same tone. There are a few clues... On a few pics I've seen with the control covers removed the red is very evident where the plastic cover has shielded the wood from light. This is in contrast to the exposed mahogany where the brown has a honey-orange tint - the tell tale colour of faded cherry aniline dye.
G-Man This thread is the reason I check gfsa every day ? That stain looks great, I can't wait to hear one of these things!
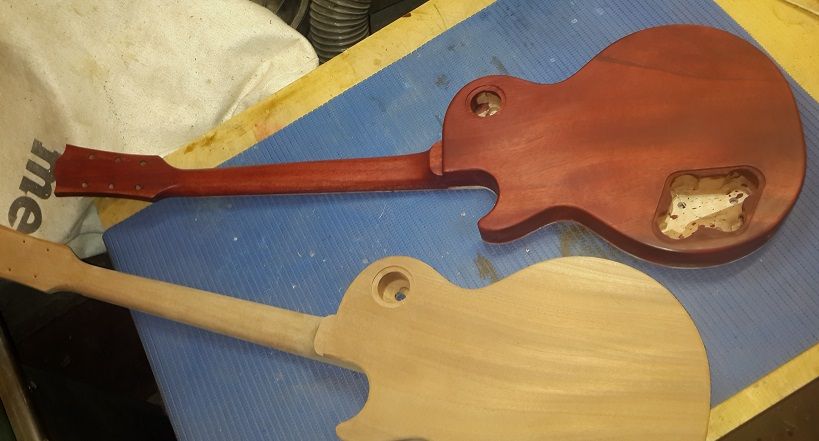
lapdawg 2nd one is pore filled. I also had a gap in the weather to get it into sunlight to see the colour. Some might say too red, but I think a slightly brown nitro finish will soften it and I am sure that it will mellow with time.
Wizard Has anyone asked the left handed luthier what he's going to do with three superb right handed LP's? Sent from my GT-I9195 using Tapatalk
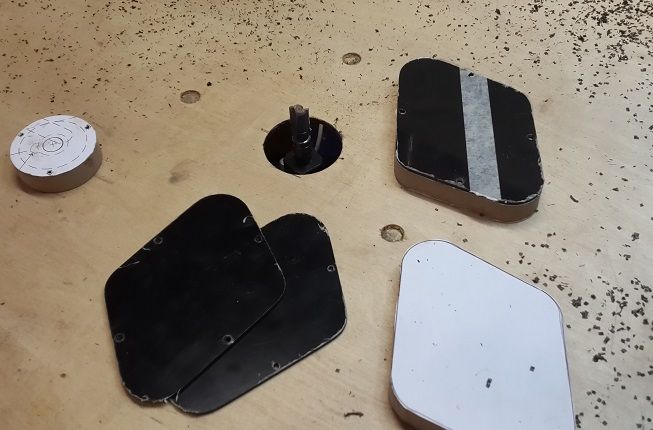
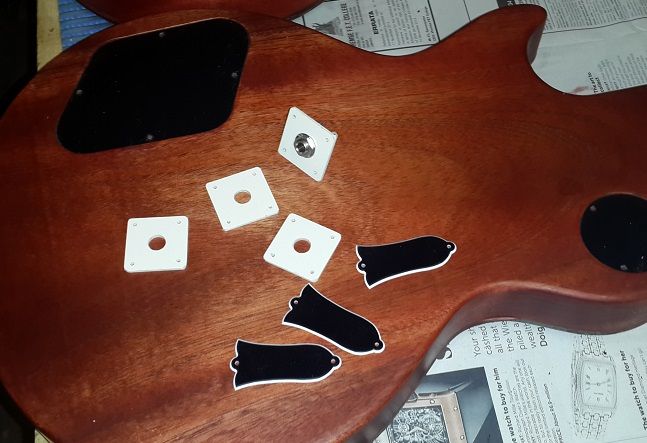
lapdawg I'vefinished the pore filling & am going to get a compressor this weekend coming, so I finished up the plastic cover pieces. I employed the usual technique - make the templates & cut out with router. Interestingly, the jack plates changed mid '59. The corners were fairly square for from 54 to mid 59. They appear to have become very rounded somewhere mid year. I will do one or 2 that way when I finalise the screw holes - I still need to source the screws.